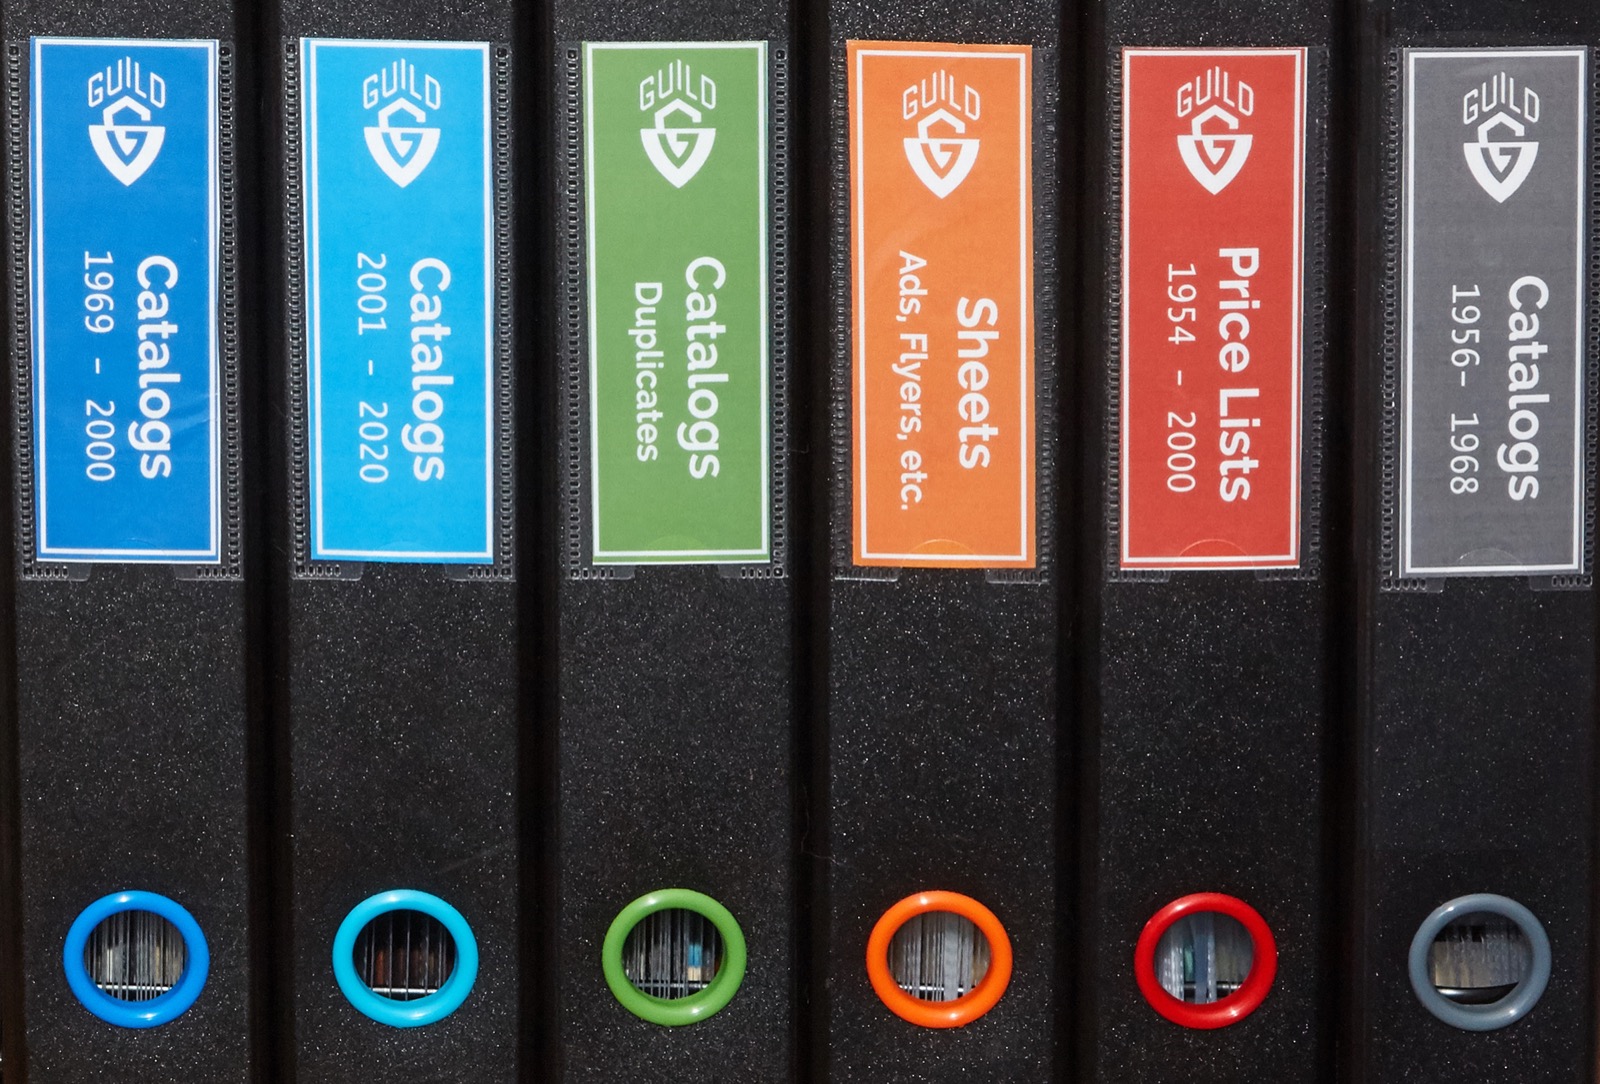
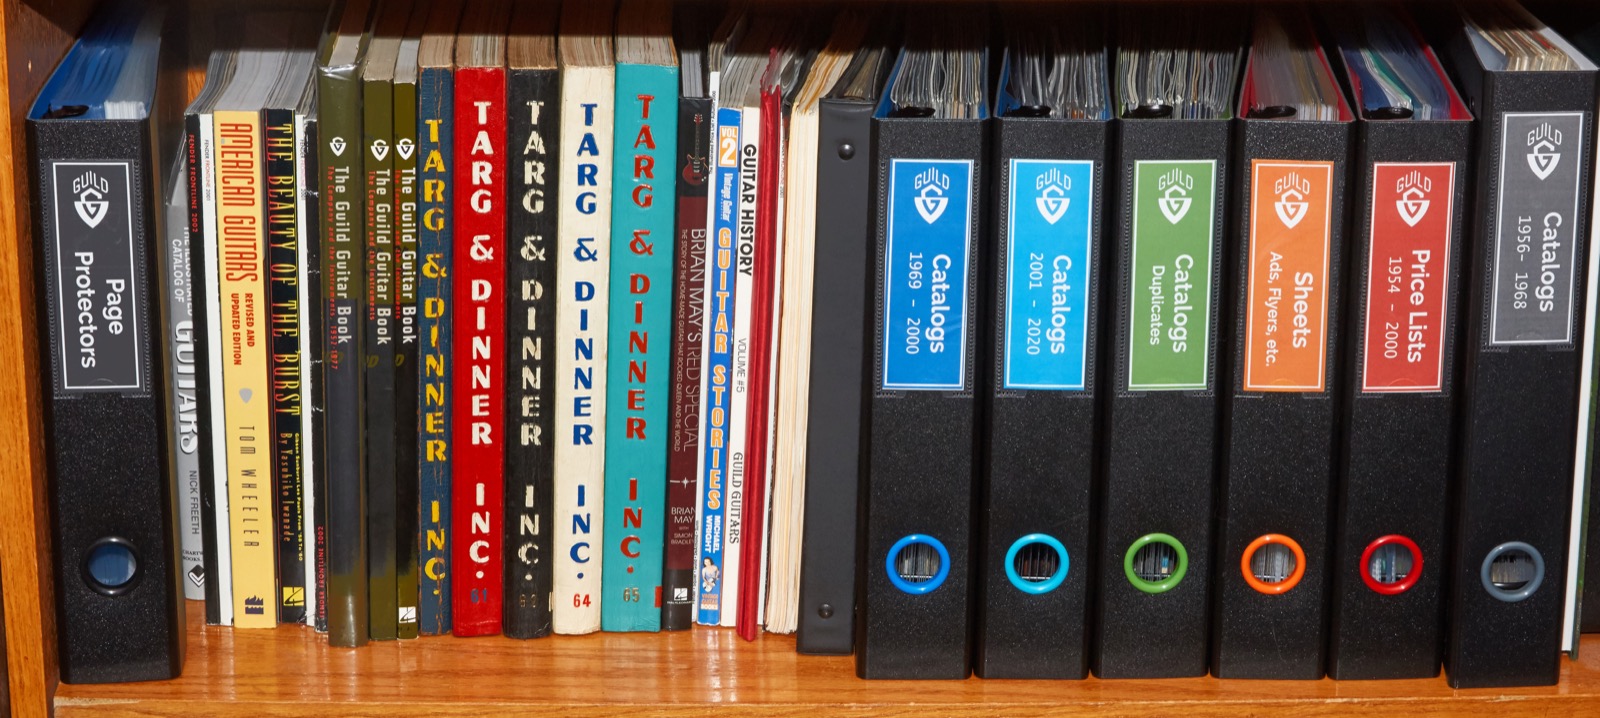
 In 2019 I decided that I would digitize every page of every Guild guitar catalog and price list in my possession. How hard could it be? Kurt over at The Guilds of Grot even let me borrow his binder of additional price lists that I did not have resulting in a project of ridiculous scope resulting in a total of 61 catalogs, 66 price lists, and 100 or so miscellaneous ads and flyers for a total of over 2,000 scanned or photographed images, all of which had to be processed, retouched, straightened, converted to PDF and imported into the software for this site.
This took many months but since I have a job and an adult life this was a nights and weekends kind of project given the additional limitations of dealing with college kid sleep schedules and the general availability of everyone involved. This article outlines the equipment I used and the steps taken to achieve that goal.
First, let’s look at the equipment used, lest you think this process was simpler than it was. Seriously, how hard could it be?
Equipment Used
Scanner
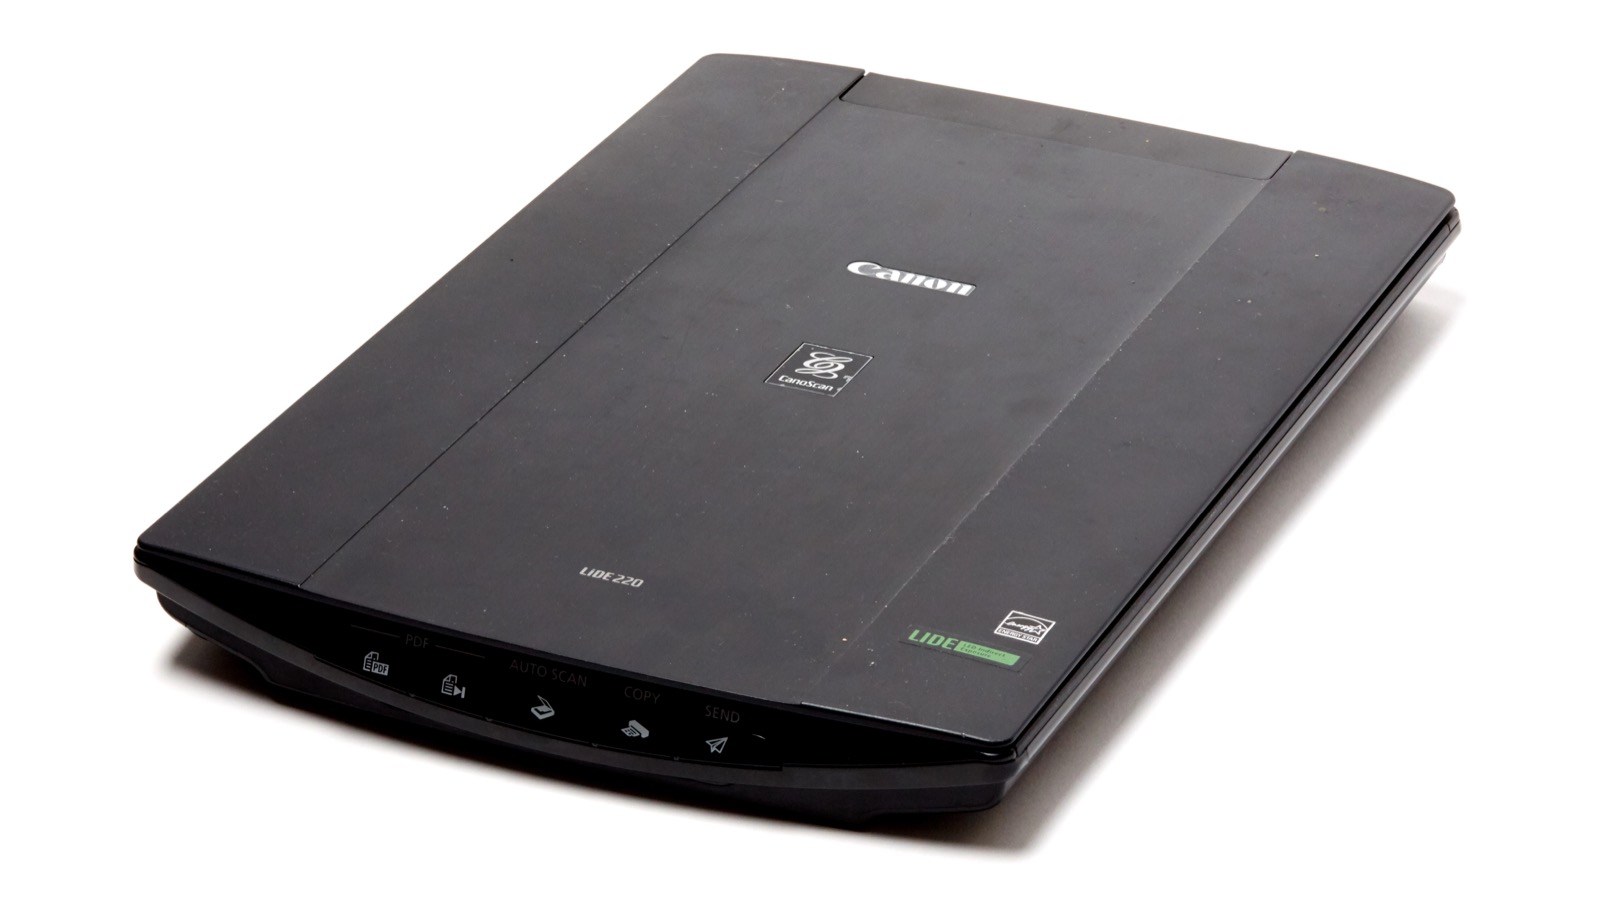 All scanned images were digitized using a Canon LIDE 220 scanner that I’ve had since 2017. I love this little scanner because for what I do it just freaking works and I’ve never had a problem with it. It scanned over 1200 pages and the only errors were those of the operator getting tired or bored and thus not positioning the pages properly.
All images were scanned at 600 dpi and reduced appropriately for the web. All catalog pages are 1600 pixels long on the longest side regardless of orientation thanks to my Mac Automator script that does the heavy lifting there.
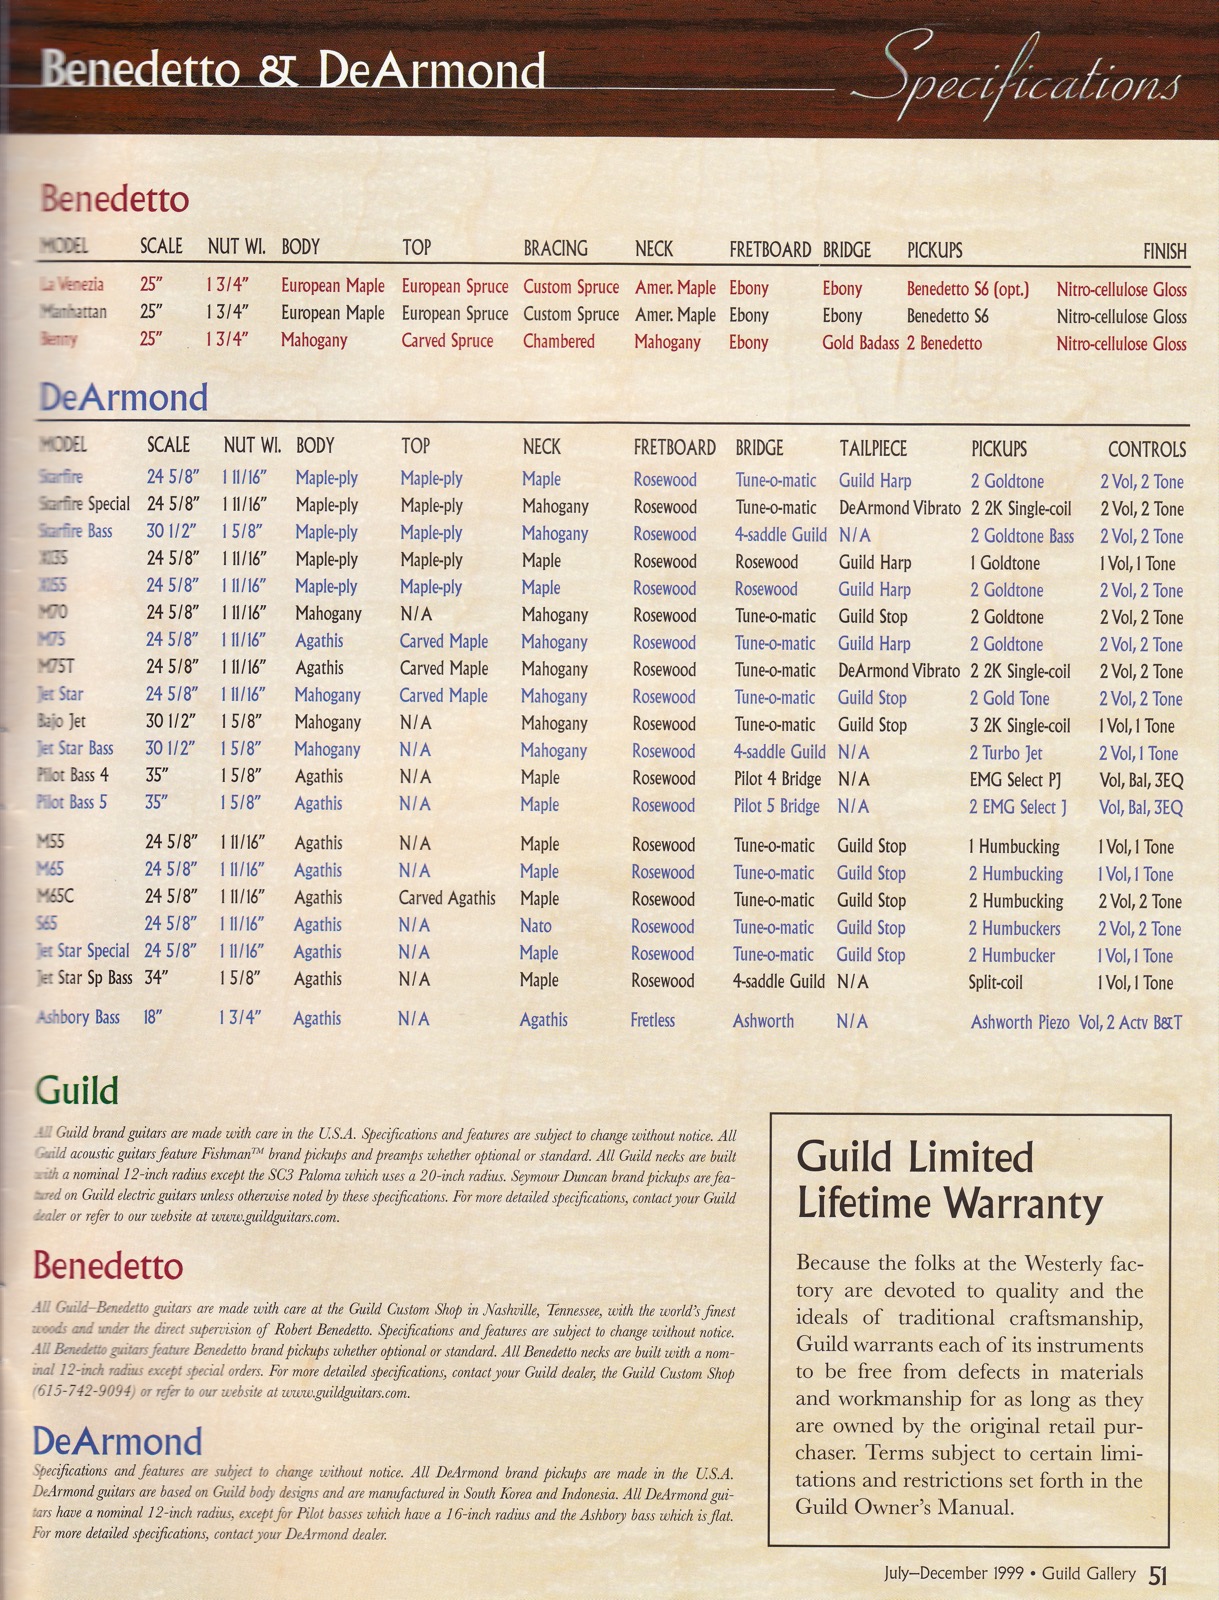 Scanning thicker booklets was sometimes difficult because these scanners are really designed for single sheets and the binding would need to be forced flat in order to get all of the page in focus as shown from this example taken from the 1999 July/December Guild Gallery magazine. This was mostly solved by placing a heavy object onto the scanner lid which forced the page flat enough to be scanned. This didn’t always work, though there’s a bit of fun later on when I explain what the heavy object was.
For catalogs that were even thicker like the Fender Frontlines from 2001 and 2002, I found cheap copies of them on eBay and cut the pages out with an X-Acto knife so that each page could be scanned properly while allowing me to keep a pristine unaltered copy in my archives. This is not something I would dream of doing with the less common Guild catalogs, but since these were Fender catalogs they are numerous and easily obtained so I didn’t mind sacrificing one for the cause.
Images direct from the scanner depend on what was selected during the scan, but they averaged about 20-30MB each (JPG) with a resolution of around 5000×6500 (about 32.5 Megapixel equivalent).
Copy Stand
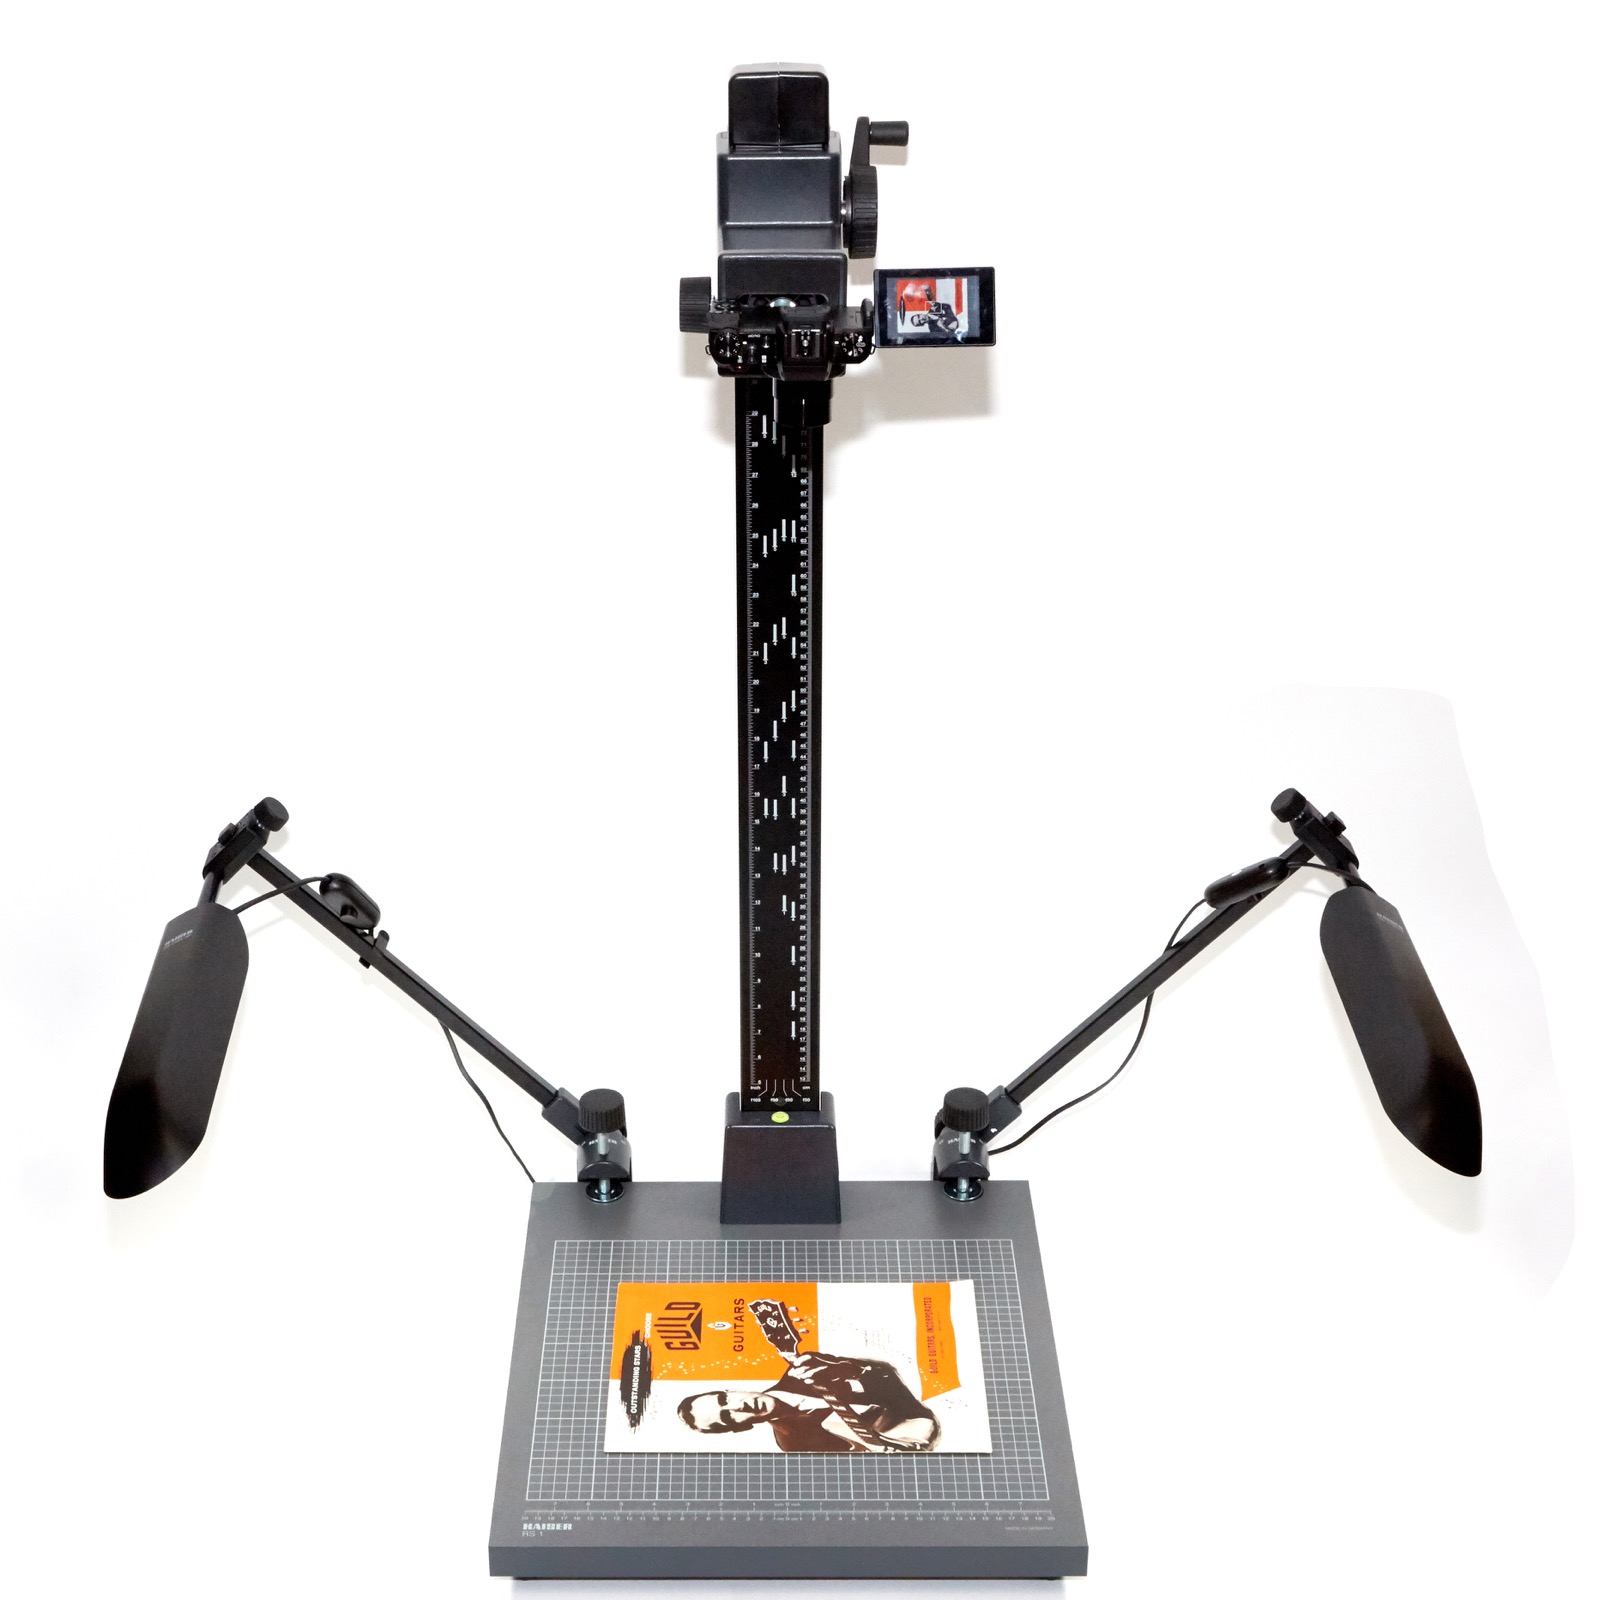 Larger catalogs would not fit on my scanner so I had to photograph each and every page. To do this, I used a Kaiser RS1 Copy Stand with RA-1 arm along with a Kaiser 218N HF lighting unit.
This is a large professional unit of the type used by museums and ad agencies (though museums would probably use something like this these days), but I wanted a long distance from camera to source material so that I could use a longer focal length in order to minimize distortion. Even with this longer distance I couldn’t zoom all the way with the camera I used and I still needed to correct a bit using software, though the average non-detail-freak (you know, a normal person) would likely never have noticed the difference.
Camera
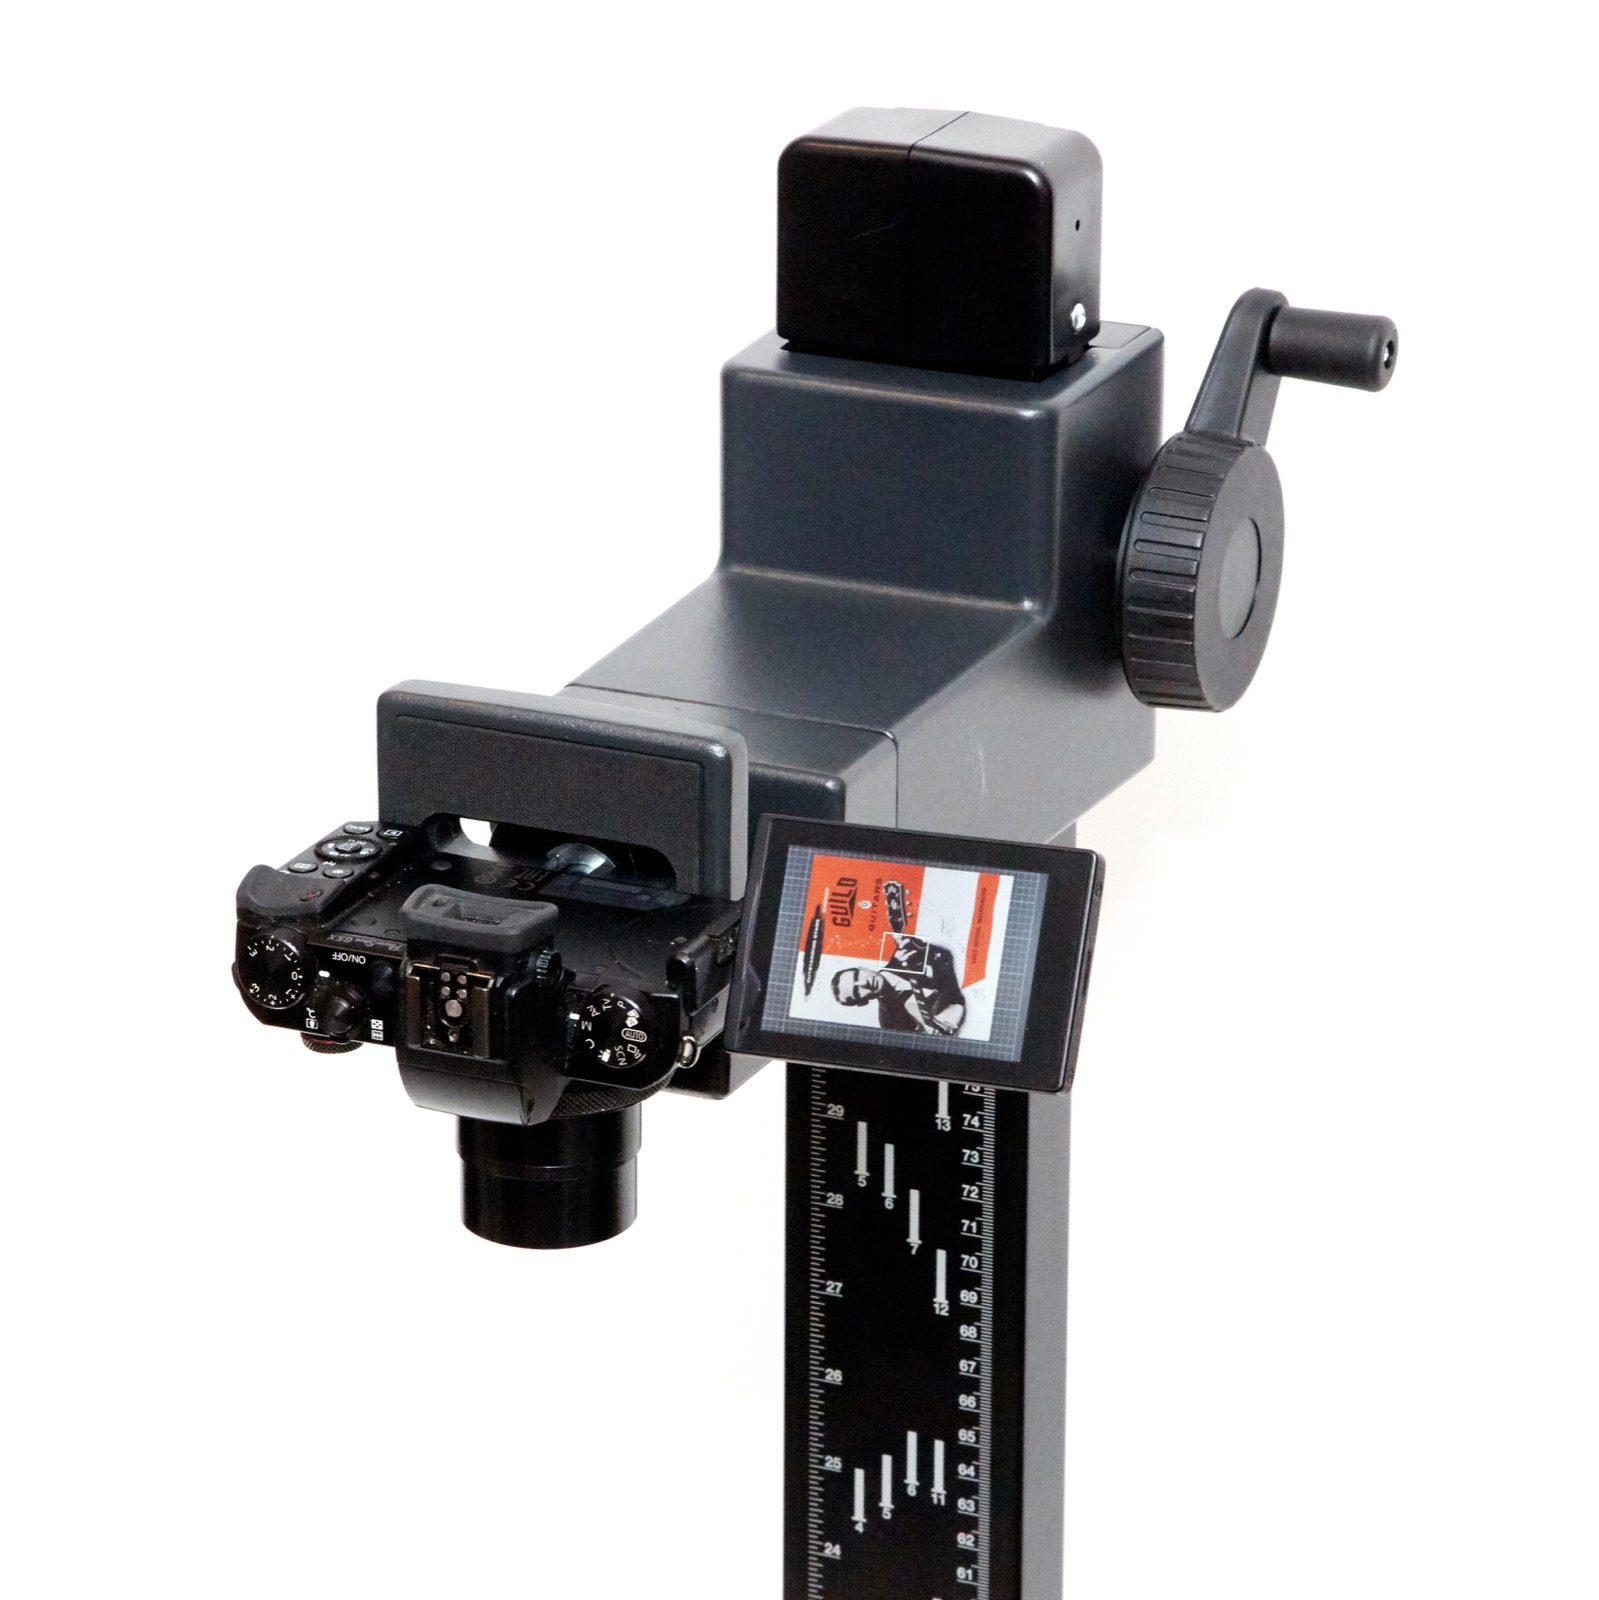 The camera attached to the copy stand is a Canon Powershot G5x. While I certainly would have had more flexibility using my DSLR, the G5X gave me the ability to control the camera via WiFi which is a feature that my Canon 5D Mark III does not have. Additionally, the G5X has a flip-up screen which was very useful when positioning catalogs to be photographed. Sometimes I used a two second shutter delay so I could position the acrylic sheet that helped me to flatten the pages which I’ll talk about more later in the article. This was especially true when photographing larger items like the Targ & Dinner catalogs.
The camera was set to manual mode with the following settings: 1/40th, f/6.5 ISO 125. Photos direct from the camera have a resolution of 3648×5472 (about 20 Megapixels) and an average file size of about 26MB (RAW).
Miscellaneous
 Computer: The majority of the work was done on my 2010 Mac Pro with dual 6-core 3.33GHz Xeon, 64 GB RAM, 14 TB worth of hard drives (not counting the two NAS units with 40TB each), Radeon RX 580 8GB Graphics and an LG 37.5″ 3840×1600 5K ultra-wide display. Does that matter? No, but I clearly like bragging about it.
I’ve had this system since around 2011 and it’s still one of the best most robust computers I’ve ever owned. I’ve upgraded everything in it multiple times and though it’s too old for things like USB3 and 10Gb Ethernet, it still does everything I need it to do, and let me tell you: I ask a lot from my computers. Do you need a system like this to scan and process photos? Absolutely not, but it sure doesn’t hurt.
 Other Computer: My daughter scanned most of the scannable catalogs using a 2013 15″ Macbook Pro (2.7GHz i7, 16GB RAM, 1TB SSD, Retina display) which is the last of Macbook Pros with good keyboards, if you ask this angry nerd (hint – if you ever meet me, don’t ask me about keyboards).
This machine is fast and powerful enough to let her scan in one window and watch Adventure Time in another while also no doubt texting all her friends. Sure, damn near any modern computer could do that but this one has a nicer keyboard. (Windows/Lenovo/Dell/whatever nerds please don’t email me. I just don’t care)
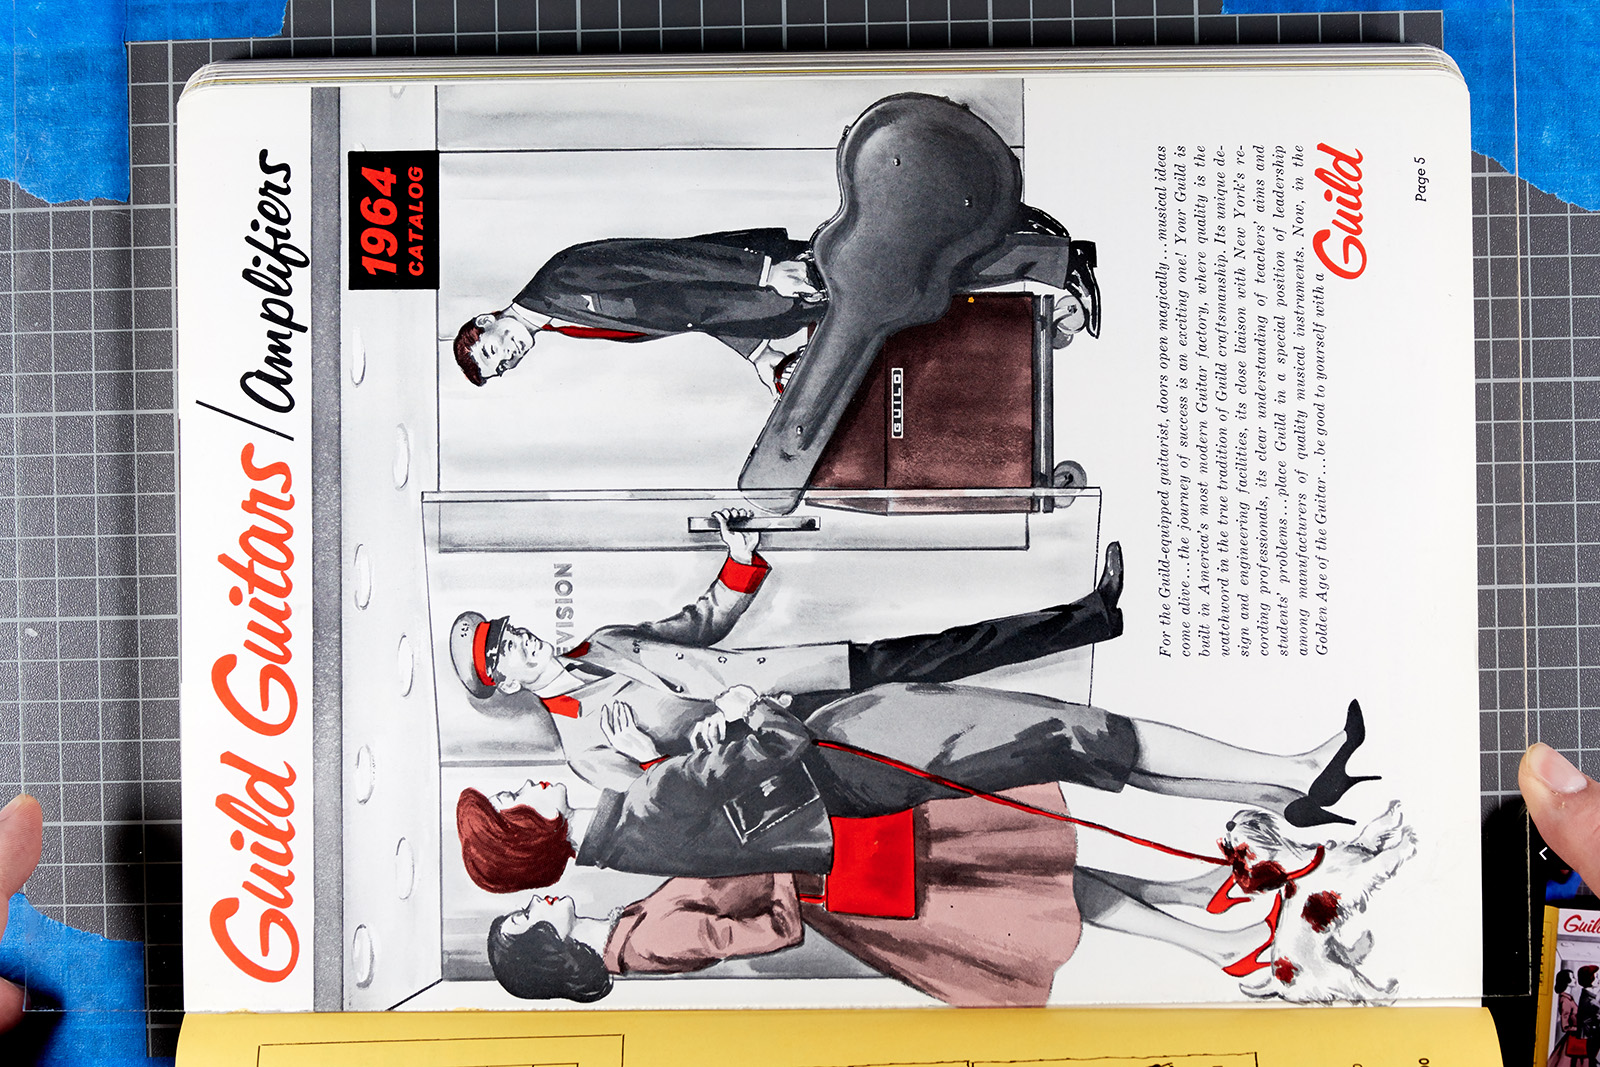 High Tech Page Curl Suppressor: Taking pictures of pages within books is a pain in the ass because it’s difficult to lay a book perfectly flat without the top page curling up due to the binding pulling the top pages more than the bottom ones which are held by the weight of the remaining book. To solve this I went to Michaels craft store and got an 11×14 piece of non-glare UV-protected acrylic of the kind used in picture frames. In this photo you can see my fingers holding the acrylic sheet over the page which is part of a large Targ & Dinner catalog. The blue painter’s tape in the corners was put on the base of the copy stand to ease placement of material and was cropped out of all the images.
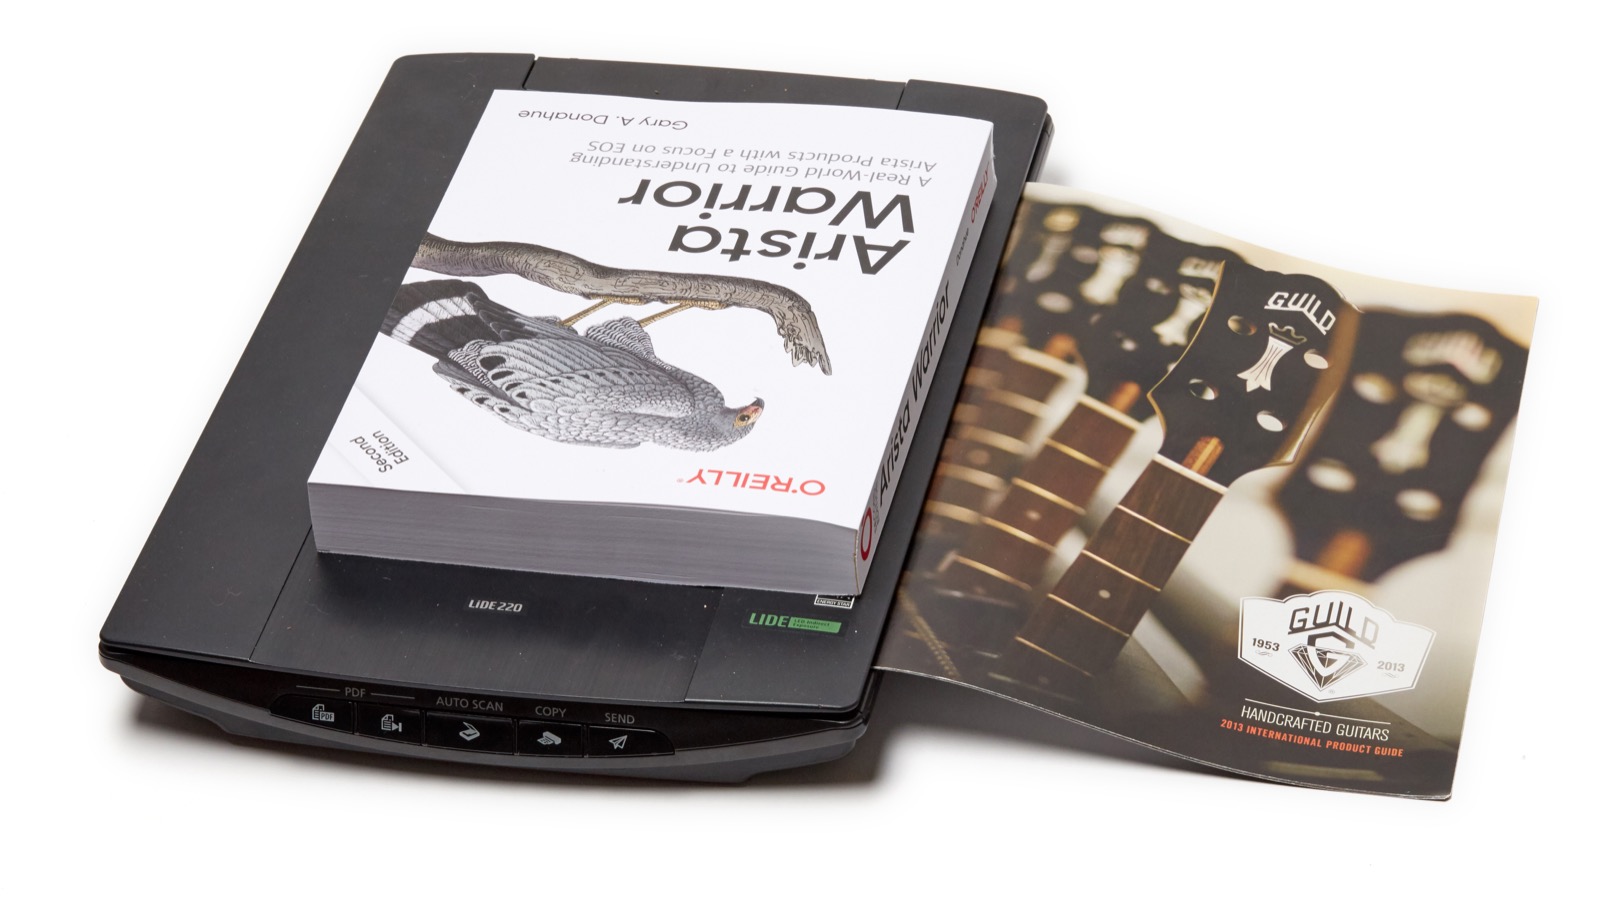 High Tech Page Flattener: Last but not least, one of the most important of tools while scanning (at least while I was scanning) was a copy of my latest book (Arista Warrior 2nd Edition) to use as a weight on the lid of the scanner. I’ve got a pile of the damn things and the one on the top of the pile was the perfect size and weight for the task at hand. I just hope that other people get more use out of them than as a literal paperweight.
Software Used and Steps Taken
Mac OSX Image Capture
 Where the scanner was used, the software Image Capture which is part of Mac OSX was used to control the scanner and to save the resulting image into the proper directory. All images were scanned at 600 DPI because scanning what is essentially magazine pages at anything higher is a waste of pixels and hard drive space. Although those files would be later resized to be more web-friendly, I am a huge believer in keeping originals in very high quality and resolution since needs change over time and there’s no way in hell I’m rescanning all this stuff.
Capture One Pro
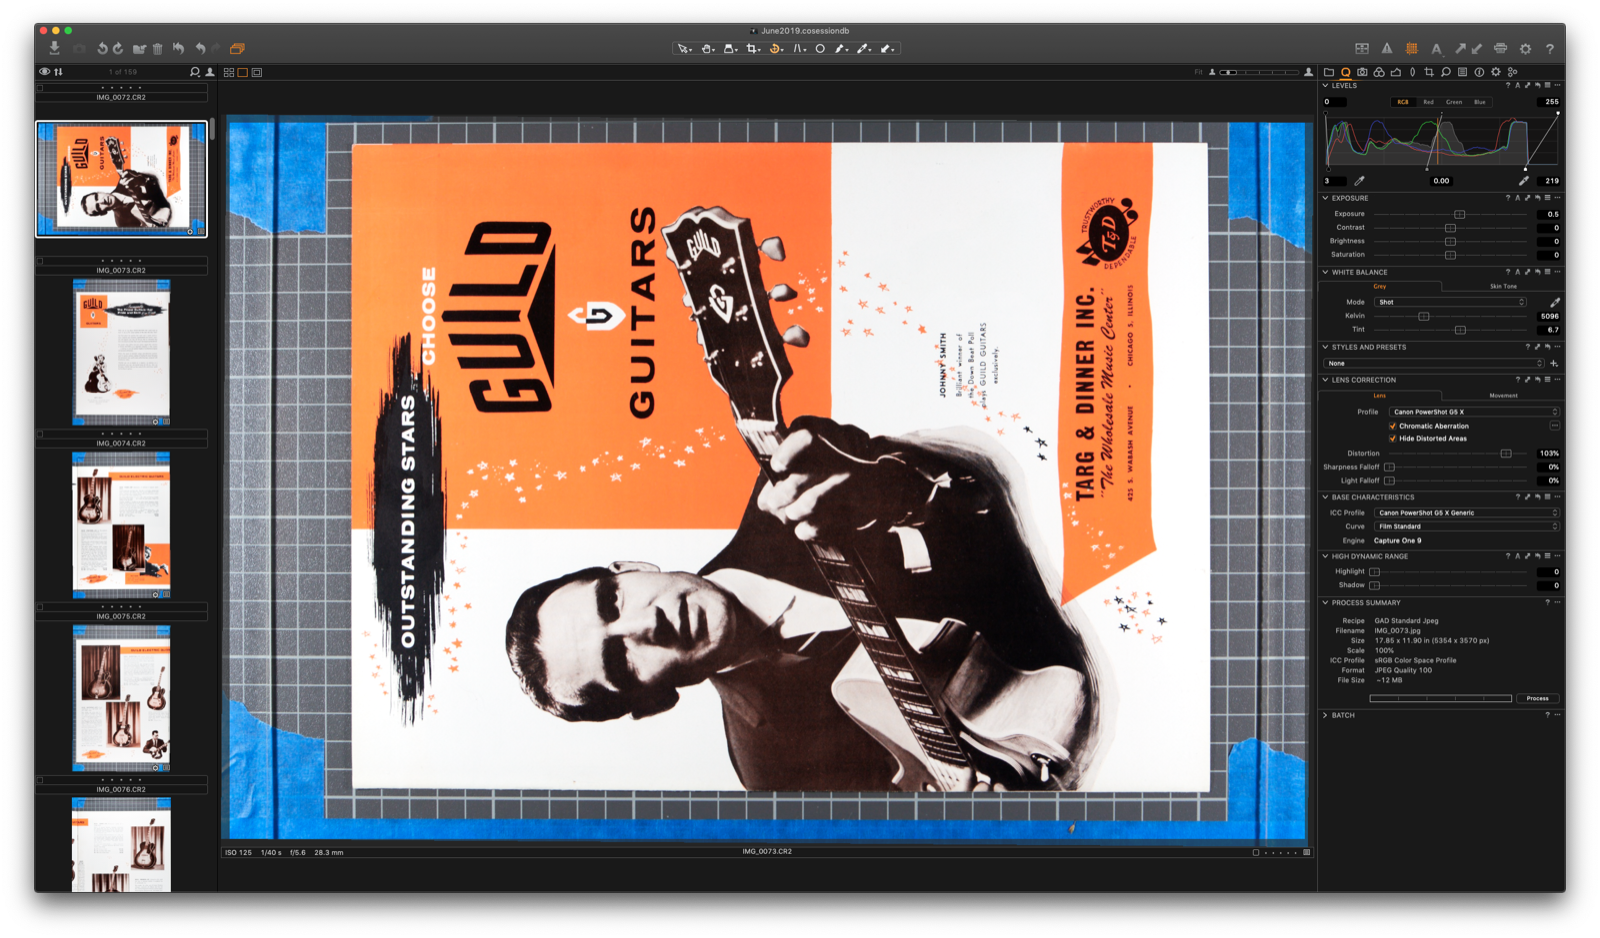 When the camera was used such as any time the copy stand was involved, the images were generally shot as RAW files which meant that they needed to be processed into .jpg files. This was done using Capture One Pro since that’s what I use for all my photography. During this step exposure would be set, the images would be straightened or flipped (or often both), and the image would be prepared for Photoshop.
Note that due to a limitation of Capture One Pro (at least version 9.2.1 that I’m using), only crops of whole inch increments could be done which didn’t fit with most of the work I was doing, so cropping was often done later by Photoshop.
Finder
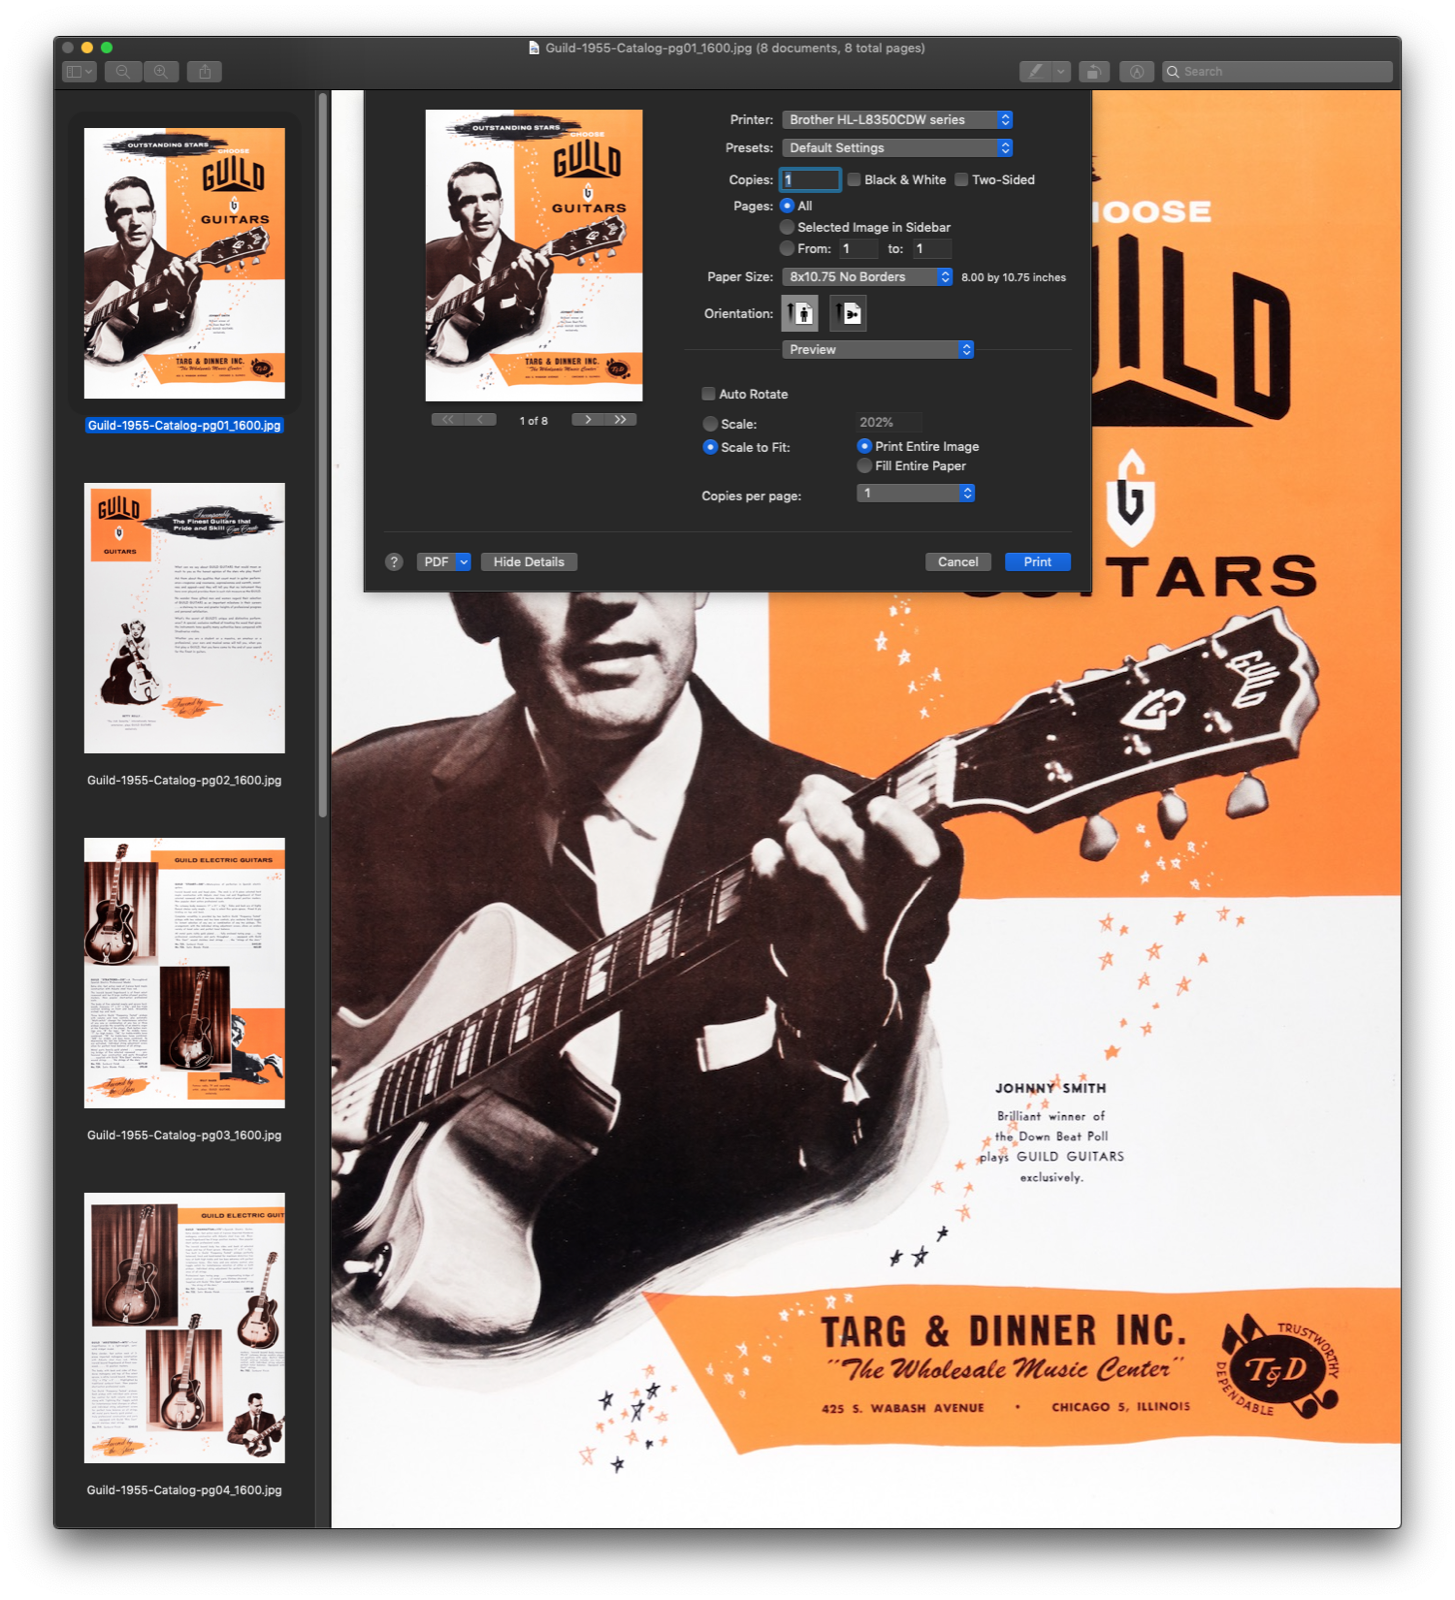
For those not familiar with Macs, Finder is analogous to Windows Explorer. Before the next step I would duplicate every image then rename the new group of images such that they would reflect what they actually were. For example, the orange cover of the 1955 catalog shown here was renamed from IMG_0073.jpg to Guild-1955-Catalog-pg01.jpg. From this point on, only the renamed files would be touched so as to retain the untouched originals.
Photoshop CC
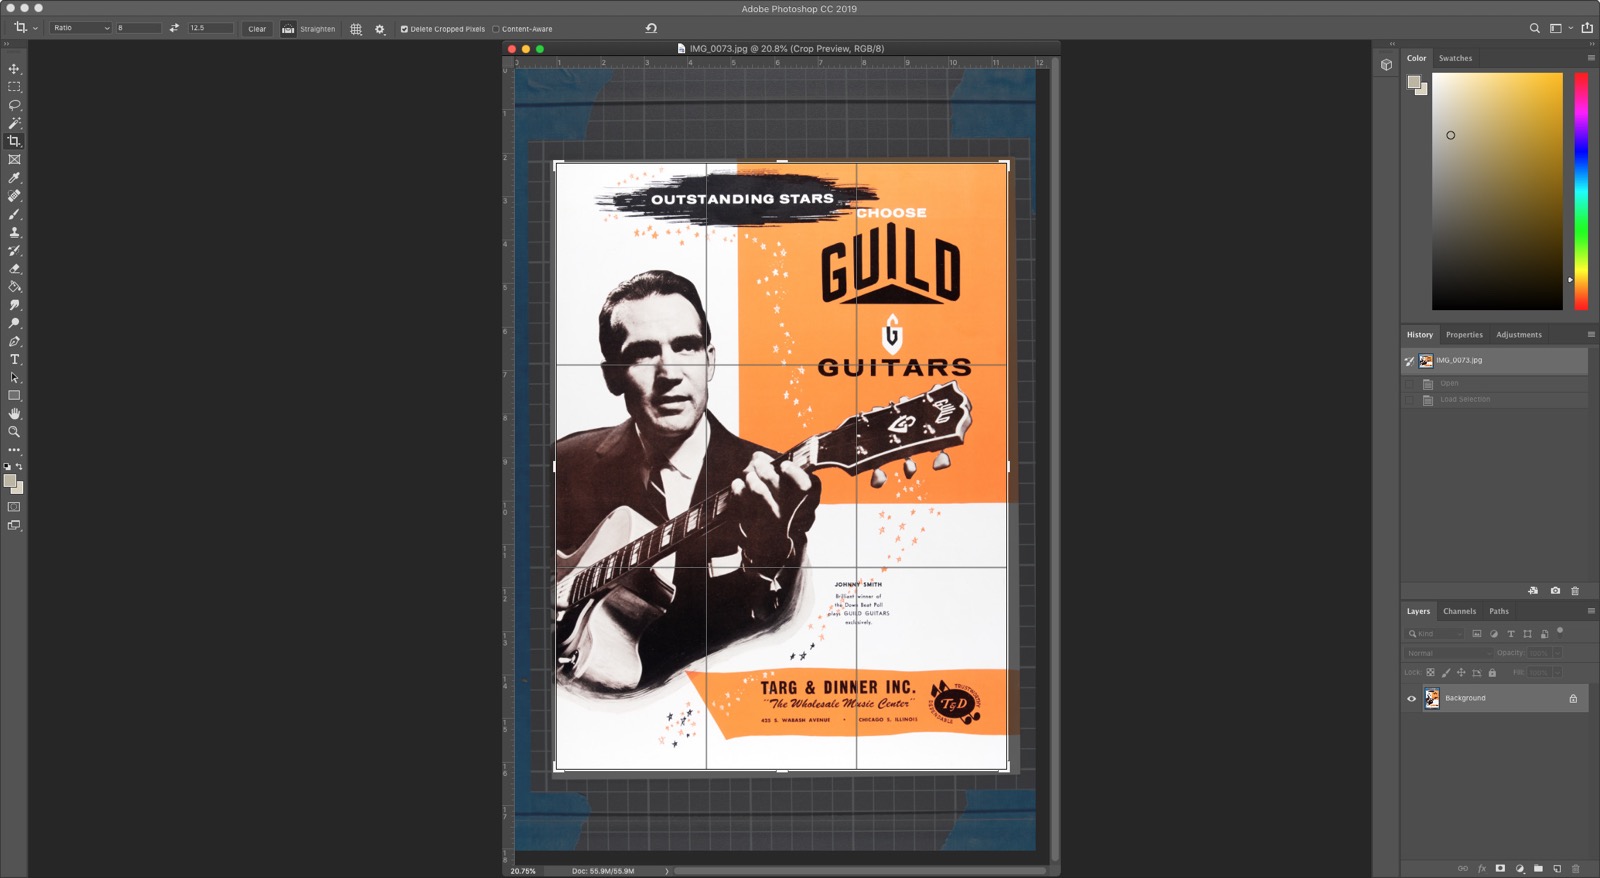 With the images prepared by Capture One Pro or Image Capture and then duplicated and renamed, I would then pull the images into Photoshop CC where I would refine the straightening if needed, refine levels and exposure, crop to the appropriate ratio, and then save the image.
Cropping turned out to be a big deal because the default WordPress gallery freaks out if the images are even a little bit different in size, so each image must be cropped to precisely the same ratio which varied based on the catalog in question.
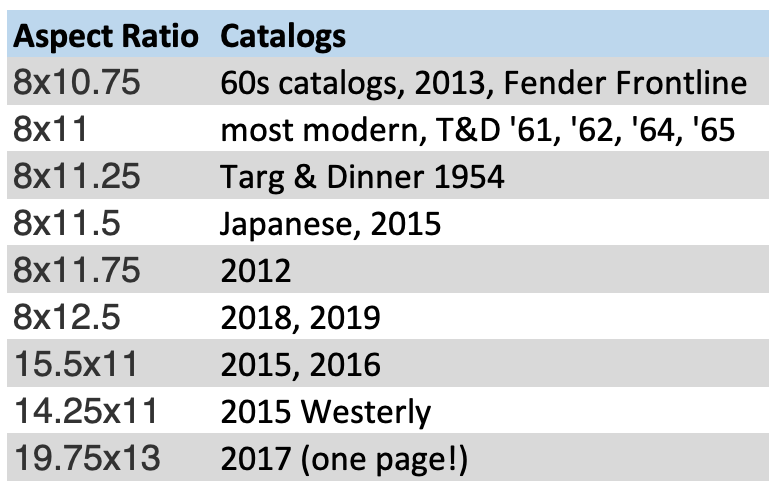 Here’s a list that I compiled of the catalog aspect rations, or at least the aspect rations to which I cropped them, which is not necessarily the same as the actual aspect ratio of the printed material due to things like bindings.
At this point, the images were ready for use, but quite large, with each camera jpg file averaging about ~3MB at and each scanner file averaging about 20-30MB. All files were still very large in terms of pixels, though, and would need to be resized in order to be useable on the web.
Automator Action
 In order to resize a large number of images, I created a Mac OSX Automator Action that I wrote back in 2017 which you can read about here. This action creates a subdirectory off of the main working directory that contains copies of all of the selected images (yes – that’s one more copy) which are then resized so that they are 1600 pixels on their longest side. These images are then given an addition of _1600 to their file name so Guild-1955-Catalog-pg01.jpg becomes Guild-1955-Catalog-pg01_1600.jpg without altering the originals.
Mac OSX Preview
 While I greatly prefer to deal with the image files directly, a fair number of people prefer to have PDFs of the entire catalog so I bundled all of the web-ready images into a PDF file which is included with each catalog.
With the web-ready images all ready and in their own subdirectory, I would select them all and launch them into Mac Preview (another OSX built-in). From there, I would select File, Print, then with a set of custom paper sizes that I created, “print” them to a PDF file named the same as the images but without the page numbers. For example, the image here is Guild-1955-Catalog-pg01.jpg while the resulting PDF file is Guild-1955-Catalog.pdf.
In some cases I had to use online PDF optimizers since the resulting PDFs were enormous with some ending up over 100MB.
WordPress
The final step was to create a post in WordPress (you’re looking at WordPress right now) for each catalog and price list with a gallery containing all of the pages and a link to the PDF. Those were then linked to master Catalog Page, Price List, and Ads, Flyers, etc. pages which will be published shortly. Oh, and before any of this lunacy started, I had to come up with a design for the main pages and all of the individual catalog pages which took a surprising amount of trial and error.
The End
Well, there you have it: a glance into the madness that was my methodical process for the digitization of over 2000 pages of Guild catalogs and price lists. You might ask why I would do so much work on a project that makes me no money, and you’d be right in doing so. Simply put, the answer is probably that I’m an idiot since I could probably charge for access and make some money, but I think people should have access to this information that was largely given away for free in the first place, so here you go. I could also enable ads but I hate ads and think that the Internet was (and is) better without them.
Lastly, I’ve had people ask to give me donations for all the work I’ve done, and while I appreciate the thought, I didn’t do this for the money. If you’d like to “give back”, donate to the charity of your choice or better yet, go teach a kid about music or buy a music teacher a coffee. In fact, find their favorite coffee shop and buy them a gift card. Buy them a big one; this was a lot of work.
Donate: PayPal Crypto:
ETH: 0x0AC57f8e0A49dc06Ed4f7926d169342ec4FCd461
Doge: DFWpLqMr6QF67t4wRzvTtNd8UDwjGTQBGs
Wow what a work you have done! I am amaze by the quality and the content.
Thanks so much !!
Hi GAD,
My Guilds (’97 AA, ’94 X500, 2003 X500 Paladin), all, have had a very bad orignal fret dressing; why..?
Those are some high-end guitars and that has not been my experience at all, so I’m afraid I don’t have any answers for you.
I have an S280K candy apple red, I bought it new in the mid 80’s. Still have the tag and original brochure, along with original hard shell case. This has been a fantastic guitar, which is mainly used for studio work. That’s why it’s still in excellent condition and all original. My wife is from Westerly RI and when we visit her family, I always make it a point to drive past the old Guild factory. The building still stands there down by Canal st. I’d like to one day see if I can get access to the building. Would love to see what may still be laying around!!