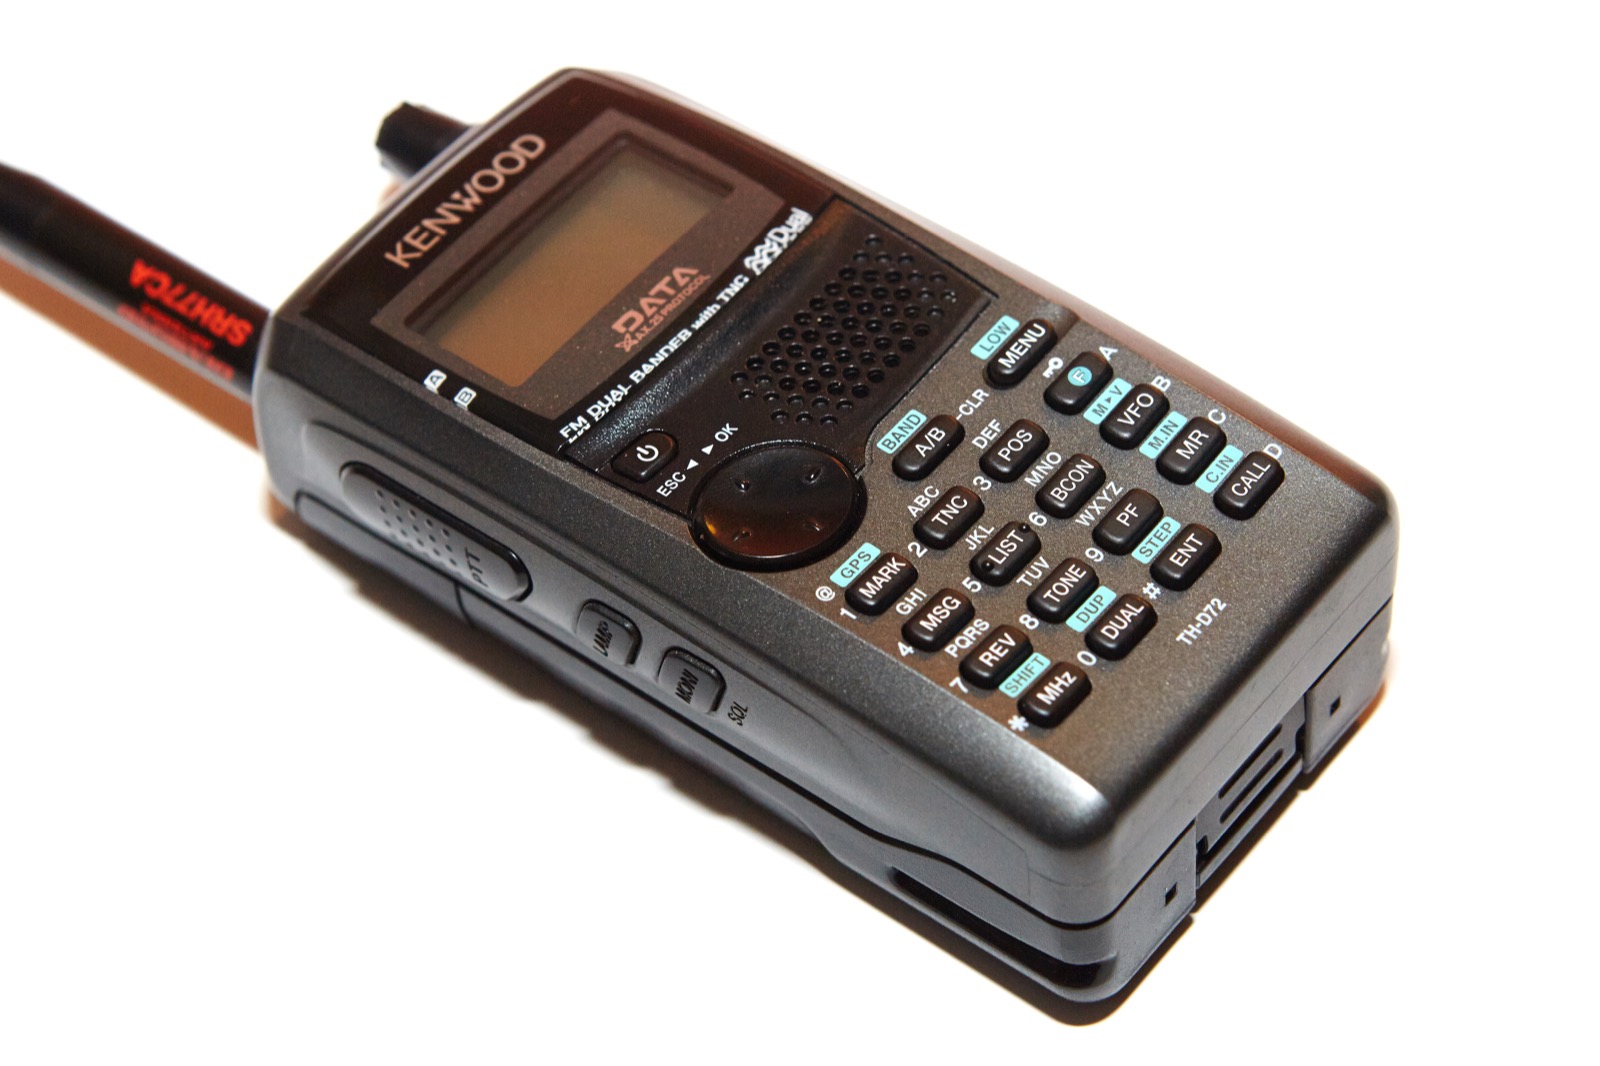
I bought a beautiful like-new Kenwood TH-D72A on eBay for a great price and was saddened to discover that the encoder knob was quite loose. The seller insisted that this was normal, but I didn’t think that seemed right. I talked to many people online online, some of whom said that their TH-D72A had a loose knob, and many who said it was rock solid. I took a chance and opened it up, knowing that doing so would mean I would no longer be able to return it.
In a nutshell, the encoder assembly sometimes works its way loose on these radios and needs to be tightened. It’s a pretty simple thing to fix, so why pay Kenwood to fix it when you can do it yourself? After posting my experience on eHam and Reddit and getting a few emails from people asking how I fixed it, I decided to write this article in hopes that it might help others out.
[dropshadowbox align=”center” effect=”raised” width=”90%” height=”” background_color=”#ffffff” border_width=”1″ border_color=”#dddddd” ]
Warning: I’m about to show you how to take apart your expensive electronic device. You may void your warranty. You may ruin your radio. You may slip and jam a screwdriver into your hand. If you are not comfortable poking around the inside of expensive electronics, do yourself a favor and stop. If you break your radio, hurt your hand, cause an inter-dimentional rift, have a psychotic episode, or bleed profusely from both eyeballs for more than four hours, please consult your doctor and tell him that I warned you of the risks. [/dropshadowbox]
Let’s start tearing into the radio, shall we?
First, you need to pull the knobs off. They both pull straight up. After that, remove the battery. Be advised that if those two steps are too complicated without associated pictures, then this probably isn’t the job for you. If, on the other hand, you’ve ever fixed anything more complicated than, say a stuck zipper, the remaining steps should be fine. If you’re a ham like me who likes to build their own amplifiers and likes to restore old electronics, then this will be a cakewalk, whatever that means.
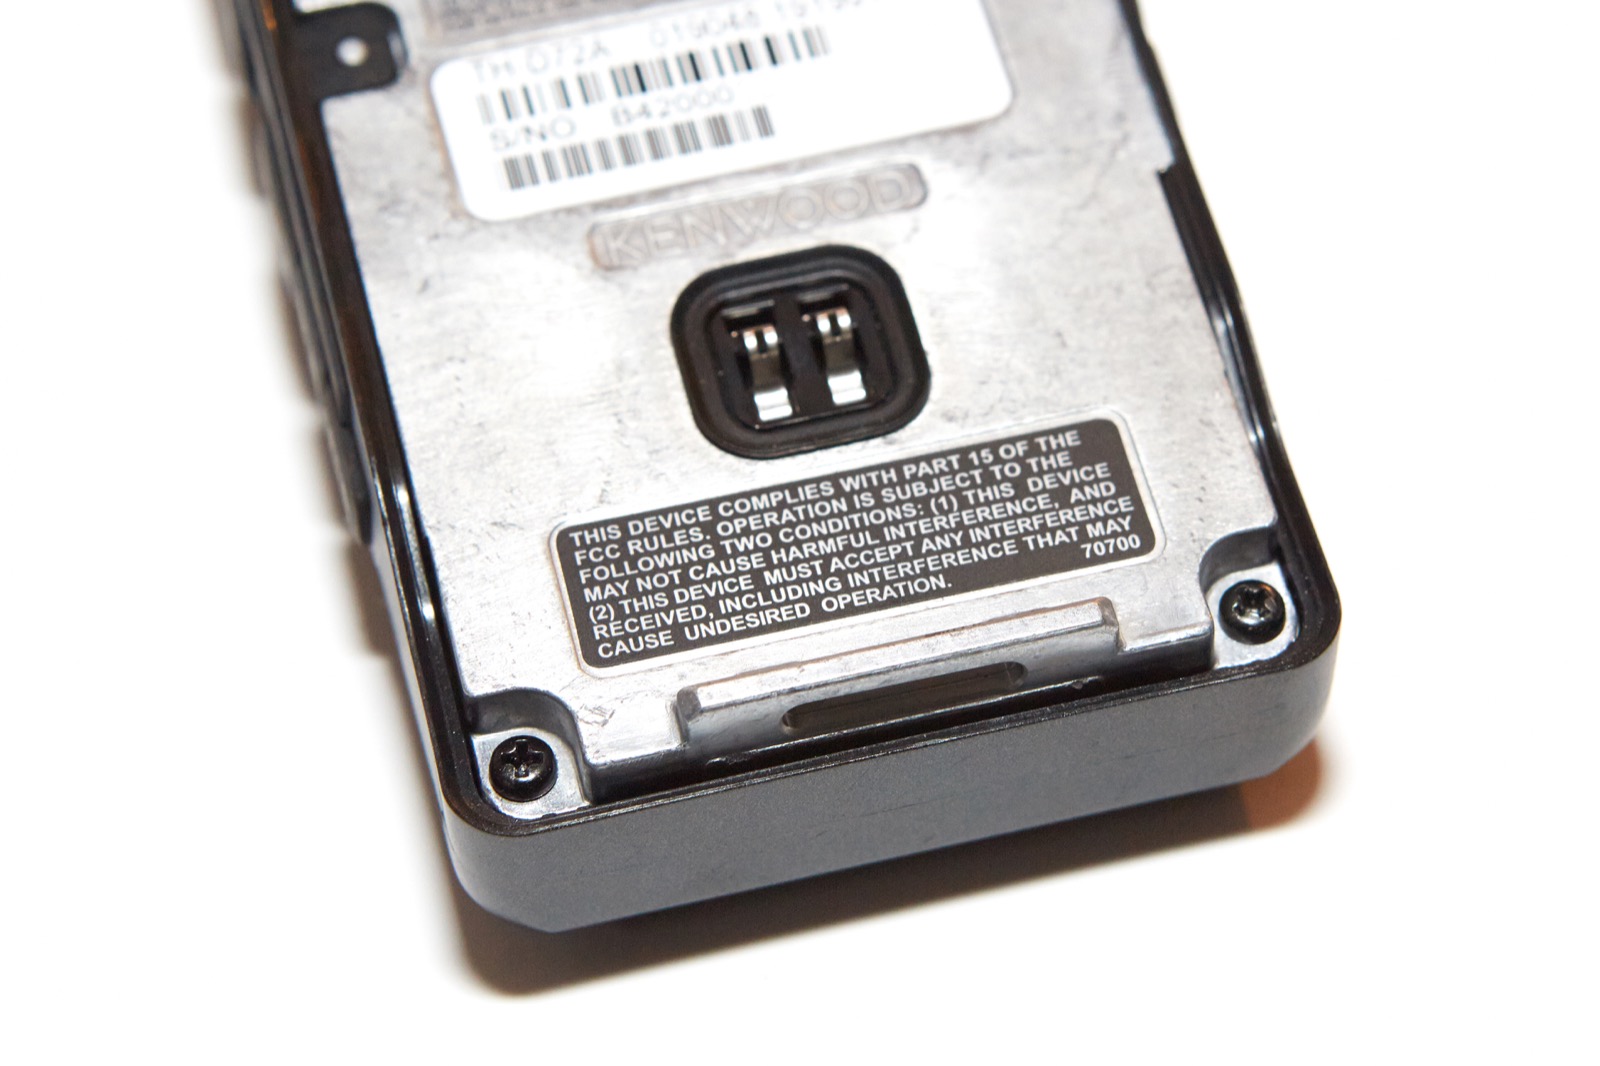
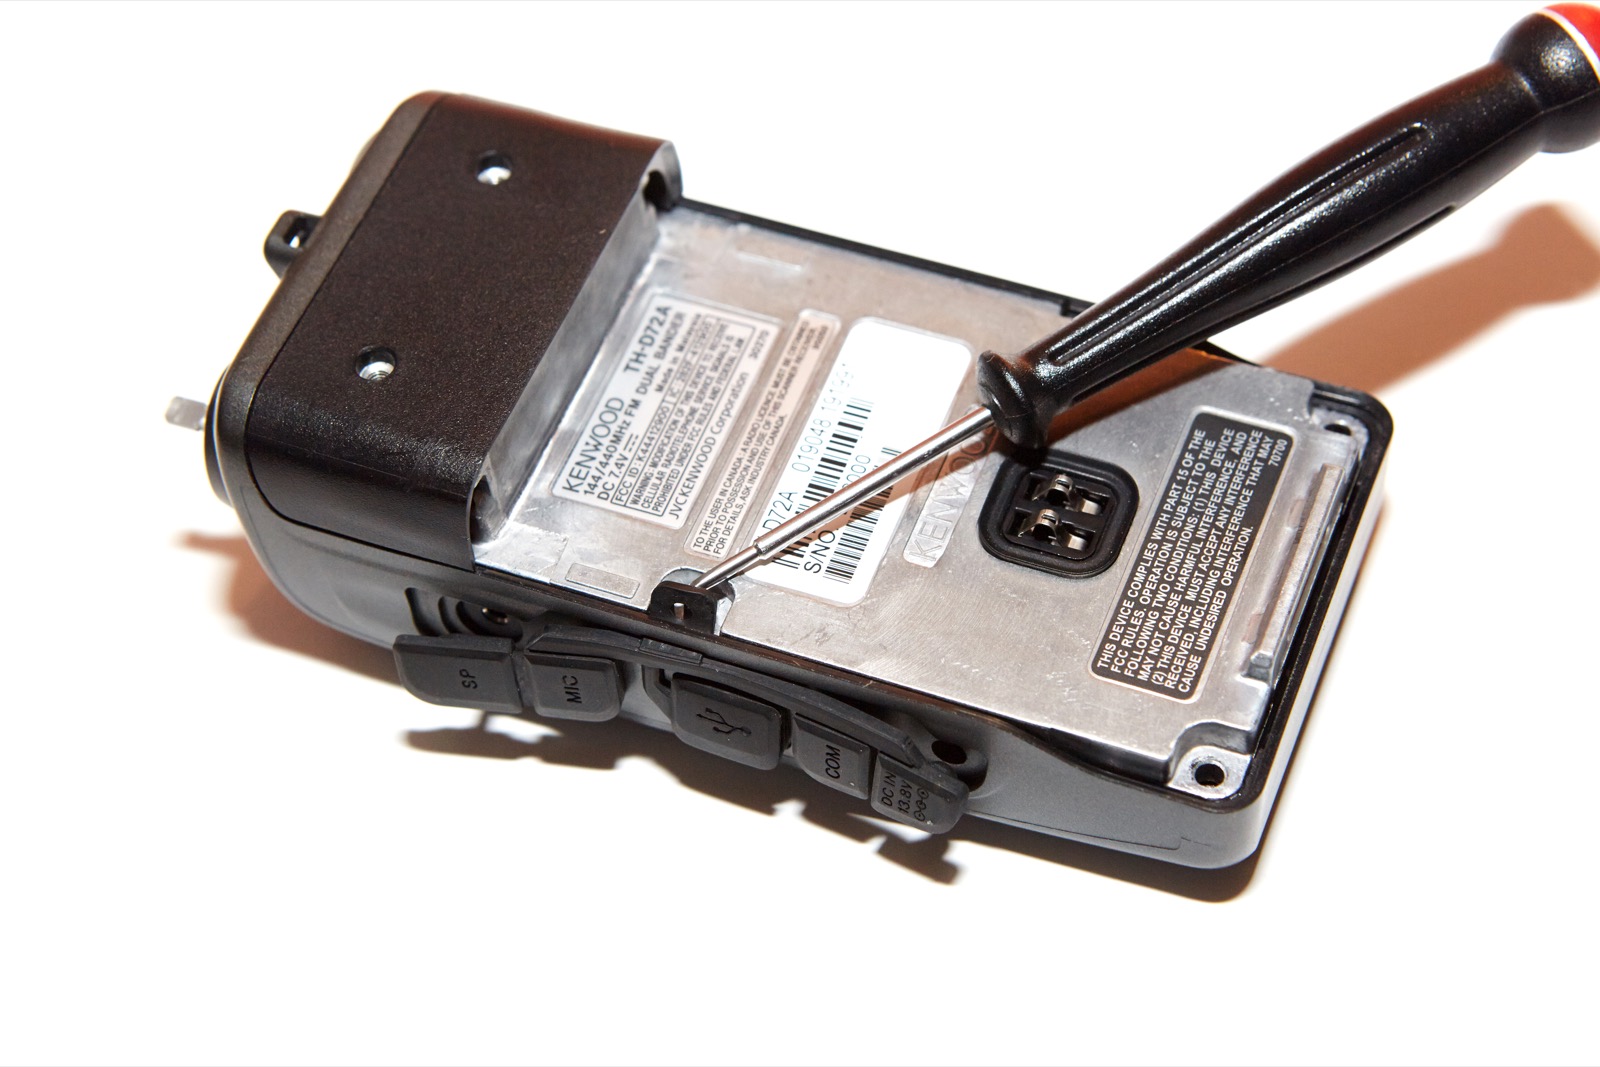
With the battery off, you’ll see two screws on the bottom of the radio. Remove these and set them aside.
[dropshadowbox align=”center” effect=”raised” width=”90%” height=”” background_color=”#ffffff” border_width=”1″ border_color=”#dddddd” ]I’ve always found the “set them aside” part of instructions amusing. I mean, what else would you do with them? Throw them out? Eat them? Mail them to Grandma? Geez. Don’t lose the screws, OK? [/dropshadowbox]
The two screws are what hold the case on. After removing them, you then
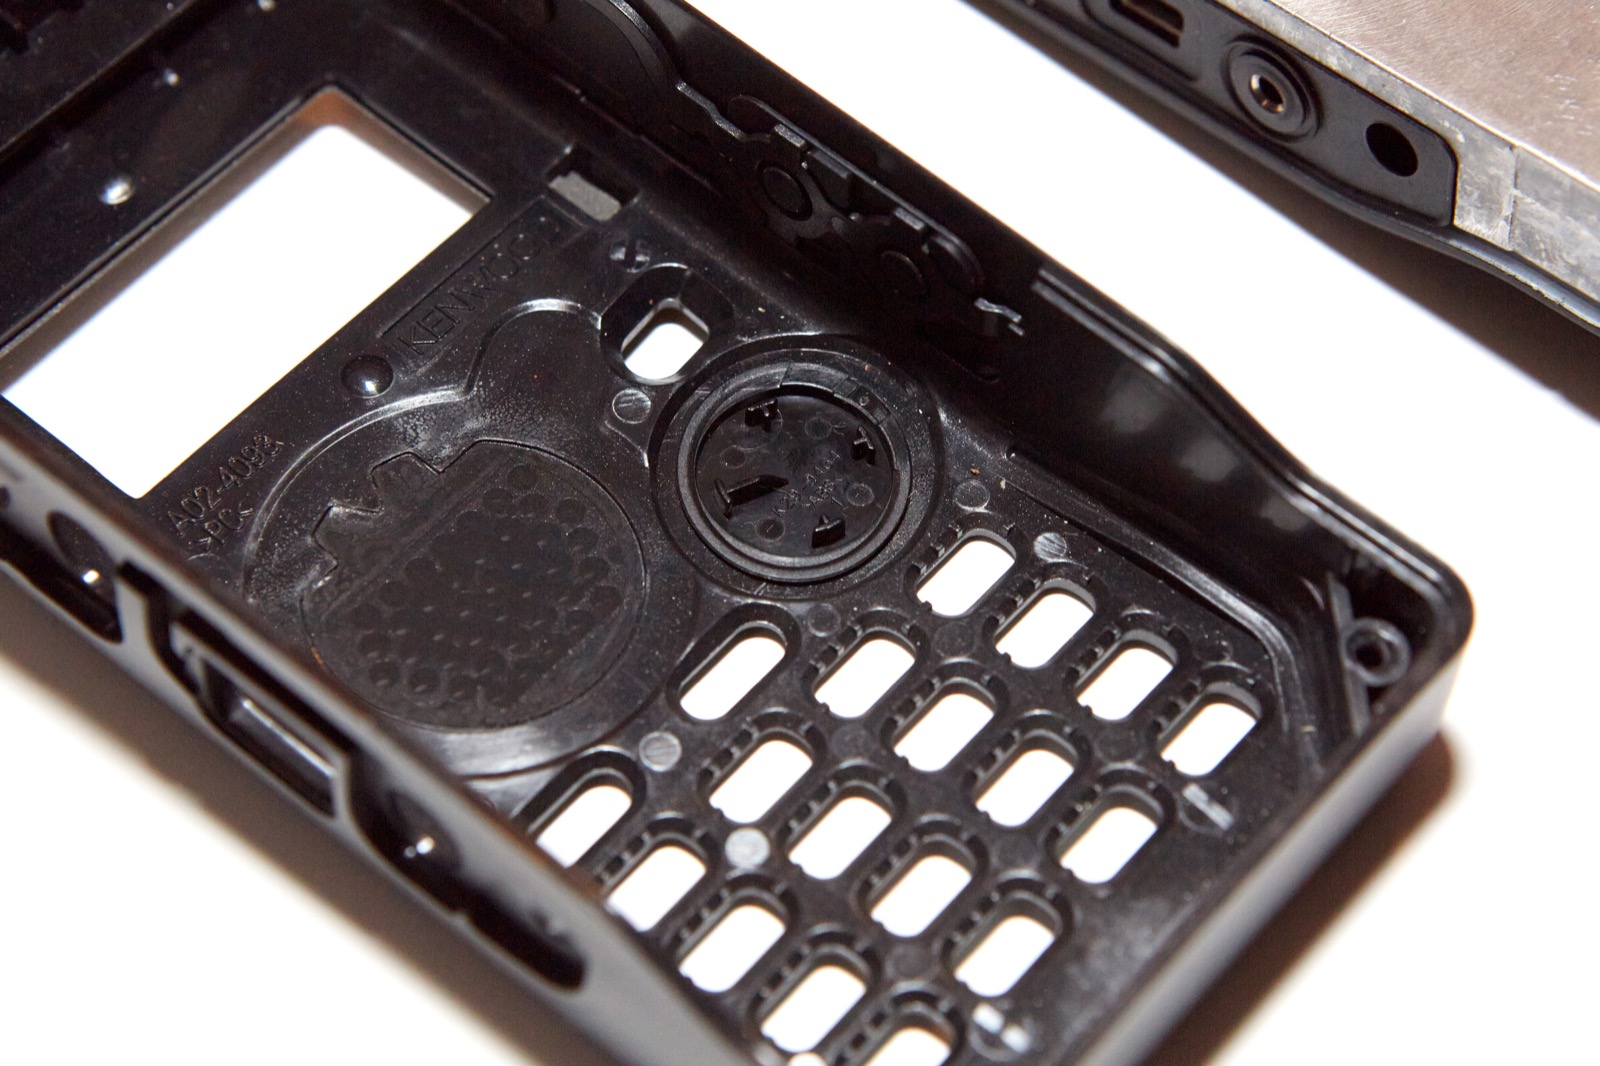
need to pry the rubber port cover off. It’s only held on by the small tab you see from the back of the radio with the battery off. Pry it up from the ports and then pry that little tab up with a small flat-head screwdriver. The rubber cover should now slide out to the side, but be careful as this piece can tear if you pull it with too much force.
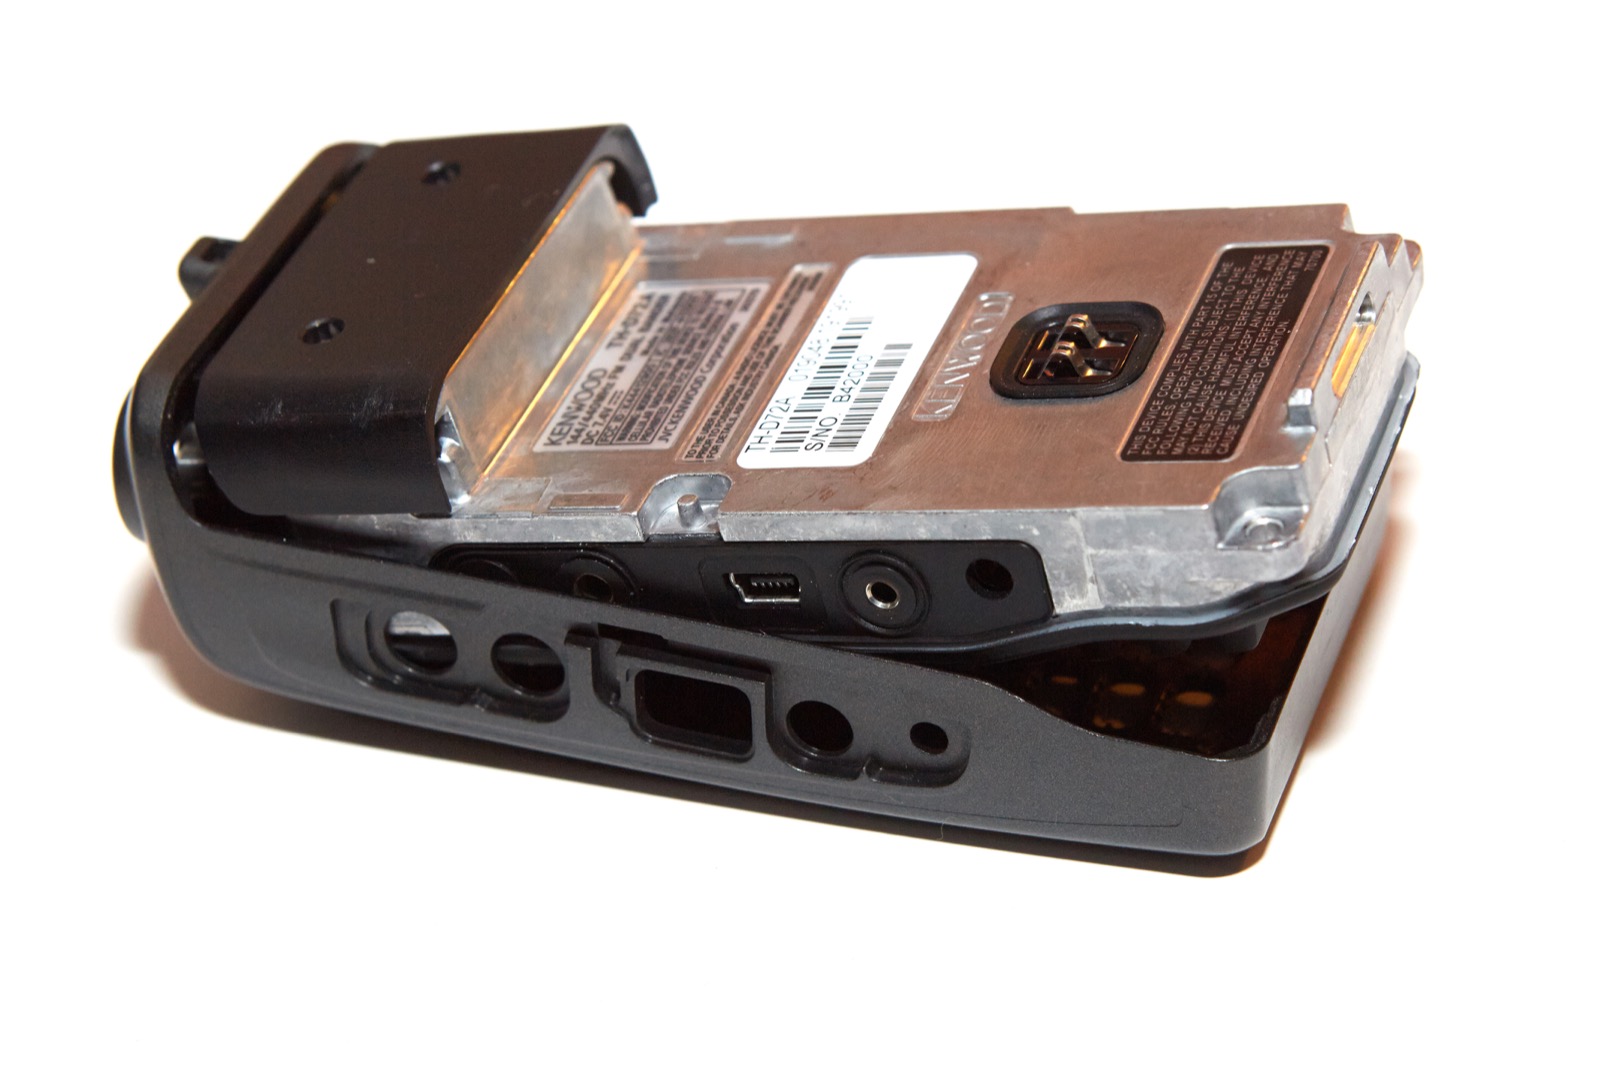
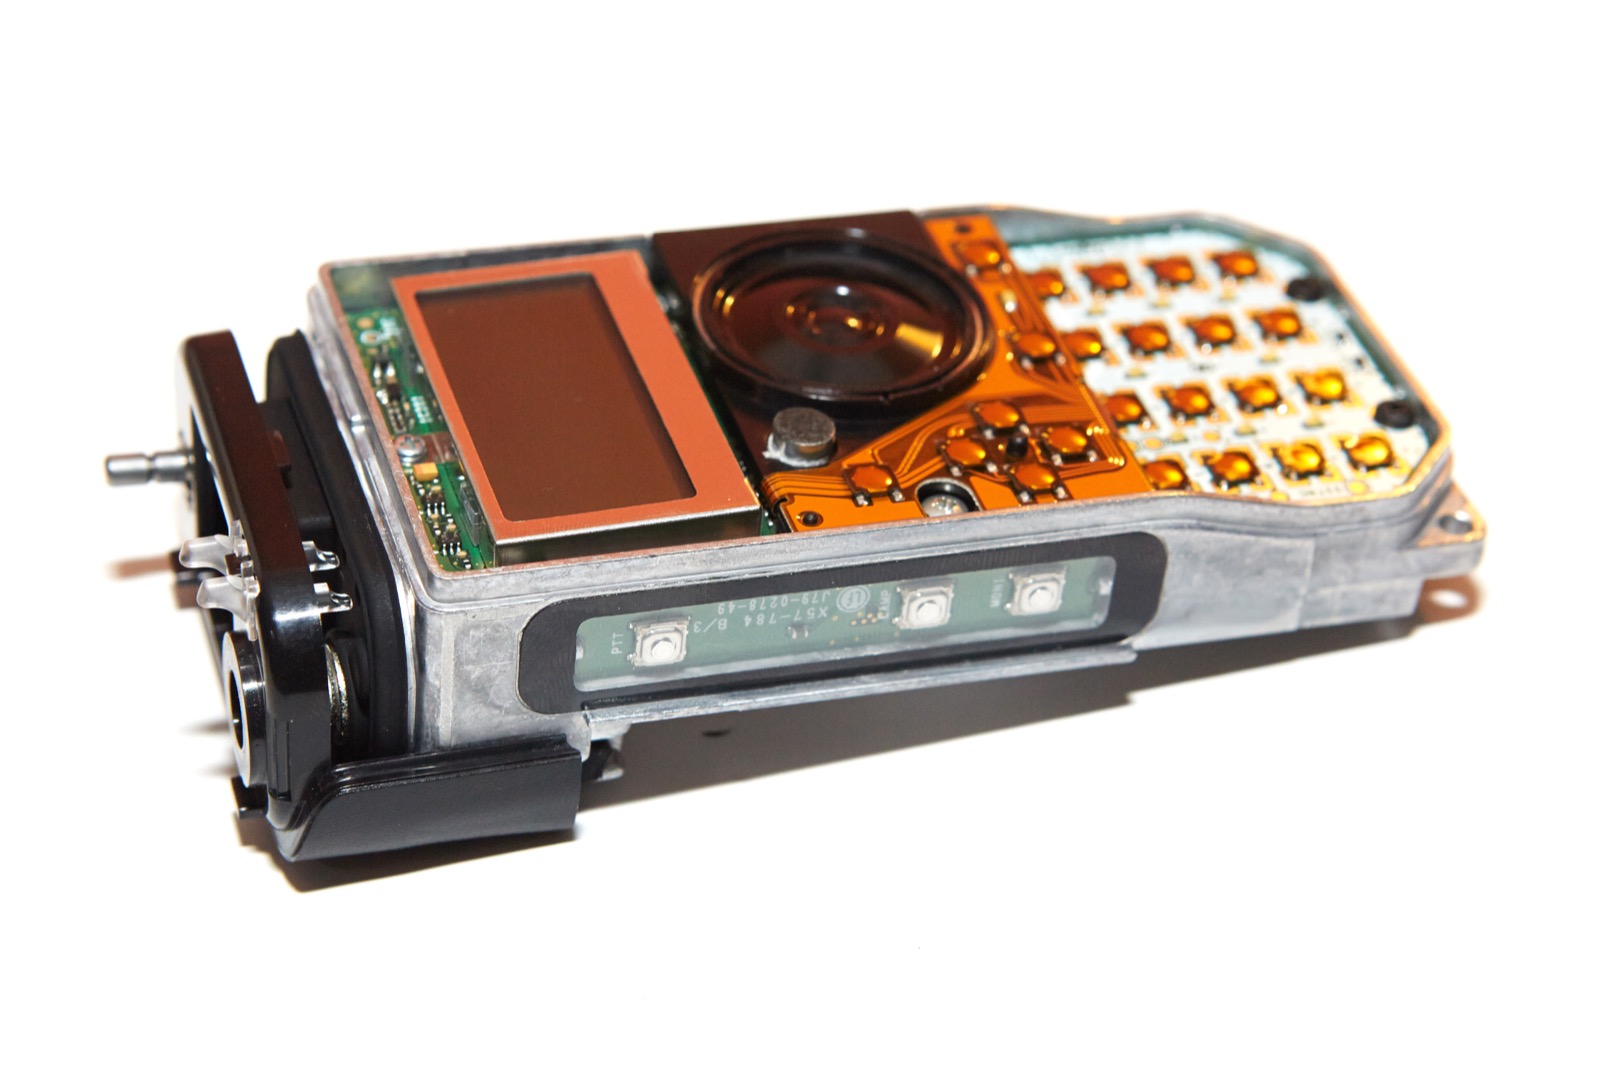
With the rubber cover off, you can now pull the case off of the radio. Pull it up and out of the case from the bottom end of the radio. You’ll probably feel some pieces come loose. These are the 4-way arrow rocker-button cover and possibly the rubber keypad. Catch them and put them aside if they fall out. You know, instead of mailing them to Grandma. With the main cover tipped up (or down depending on how you’re holding the radio), you’ll need to pull the case up to slide it off of the top over the knob shaft. Looking at my picture, you’d slide the radio to the right and “out” of the case.
With the cover off, you’ll need to pull off the plastic cap on top of the radio. Just grab the black plastic and gently pull up, away from the top of the radio.
Take this part and throw it into the fireplace or maybe the trash. Or keep it nearby for later reassembly. Whatever — it’s your radio. I’d probably keep it, but who am I to judge?
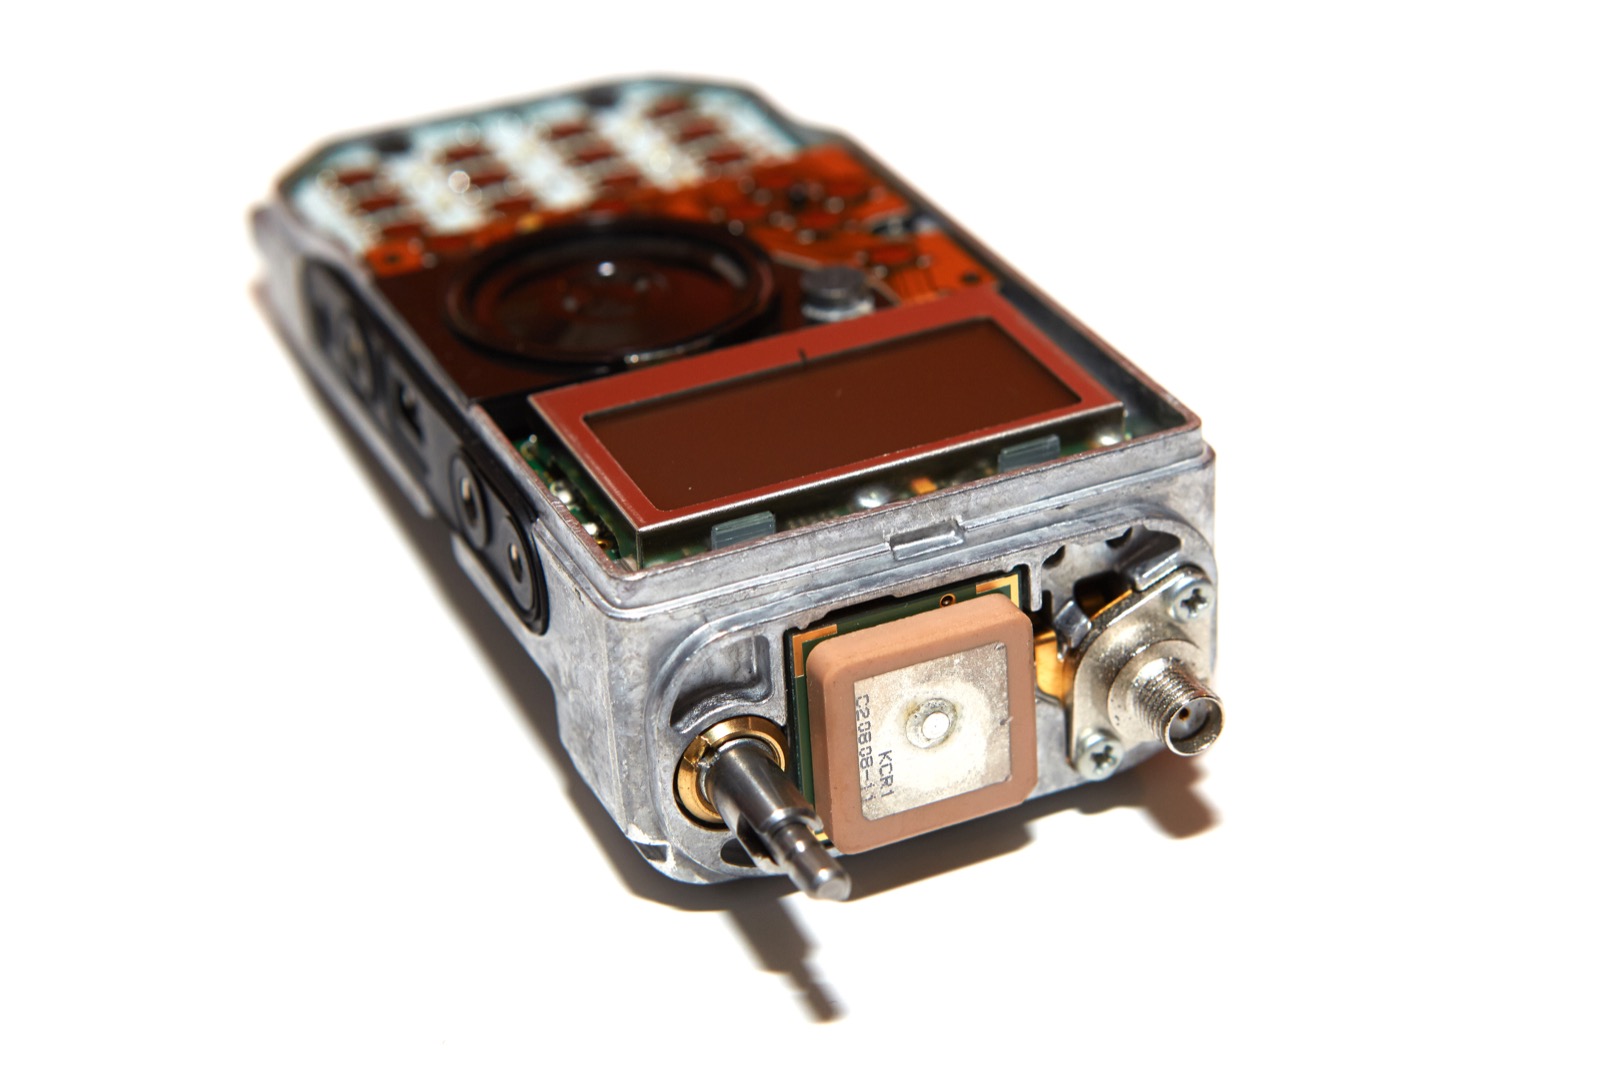
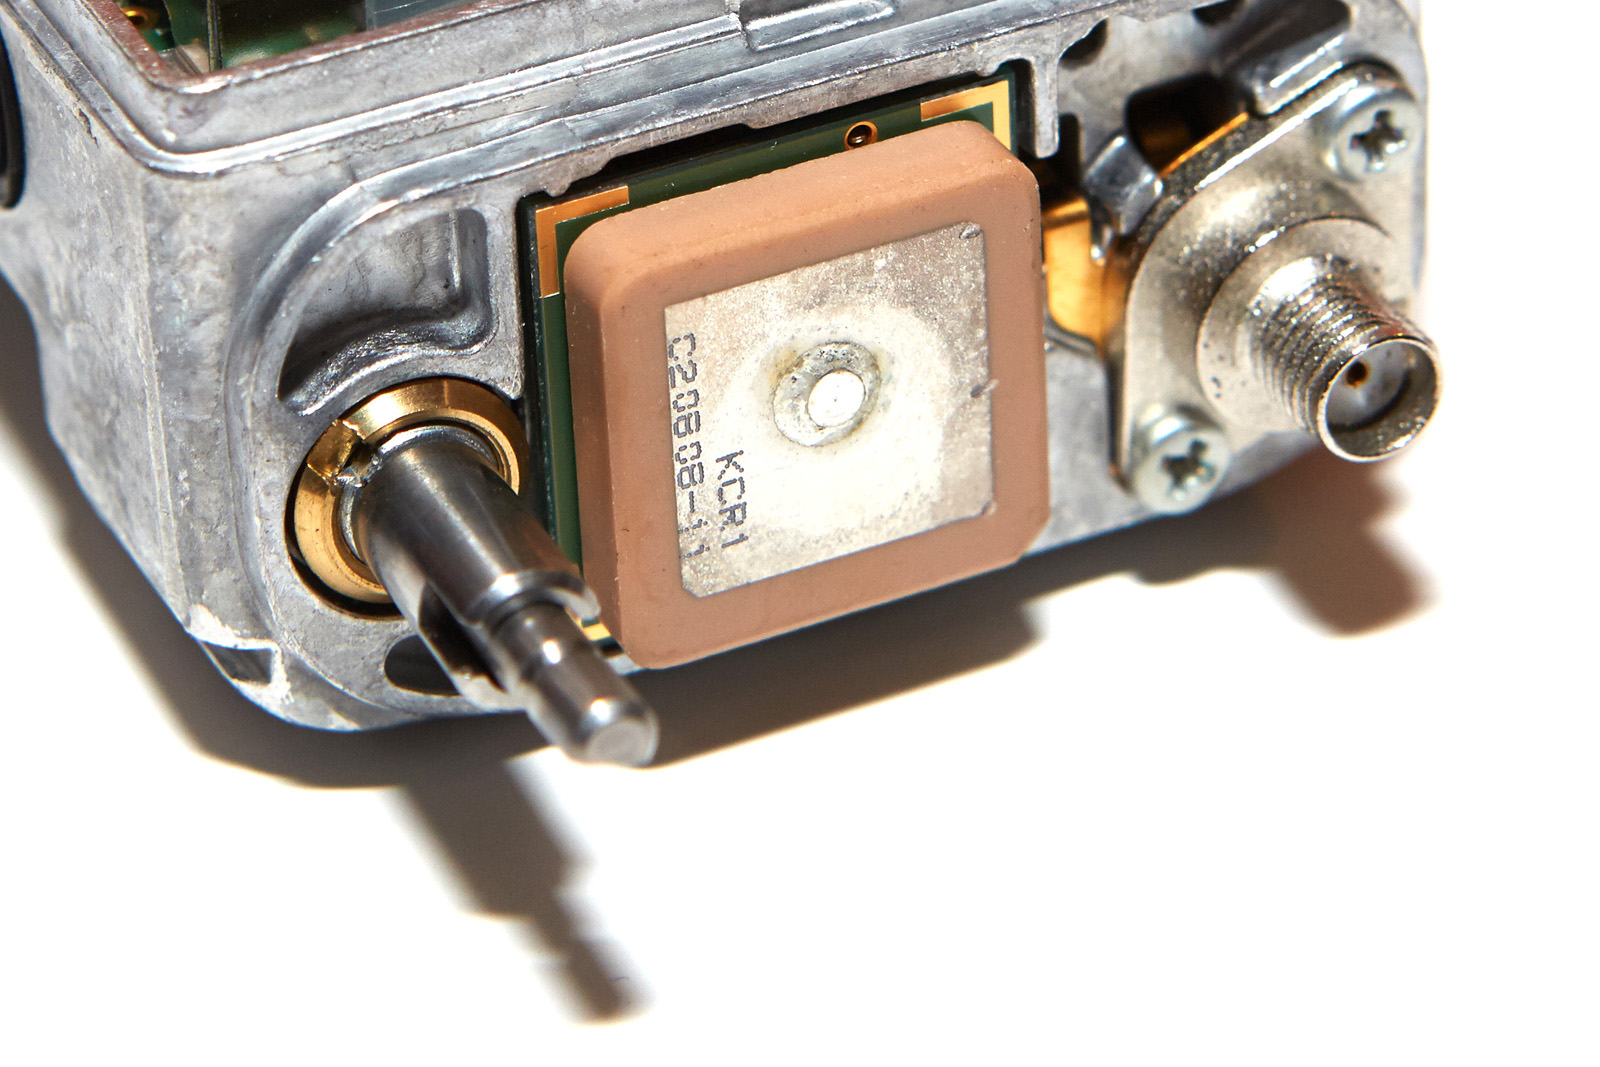
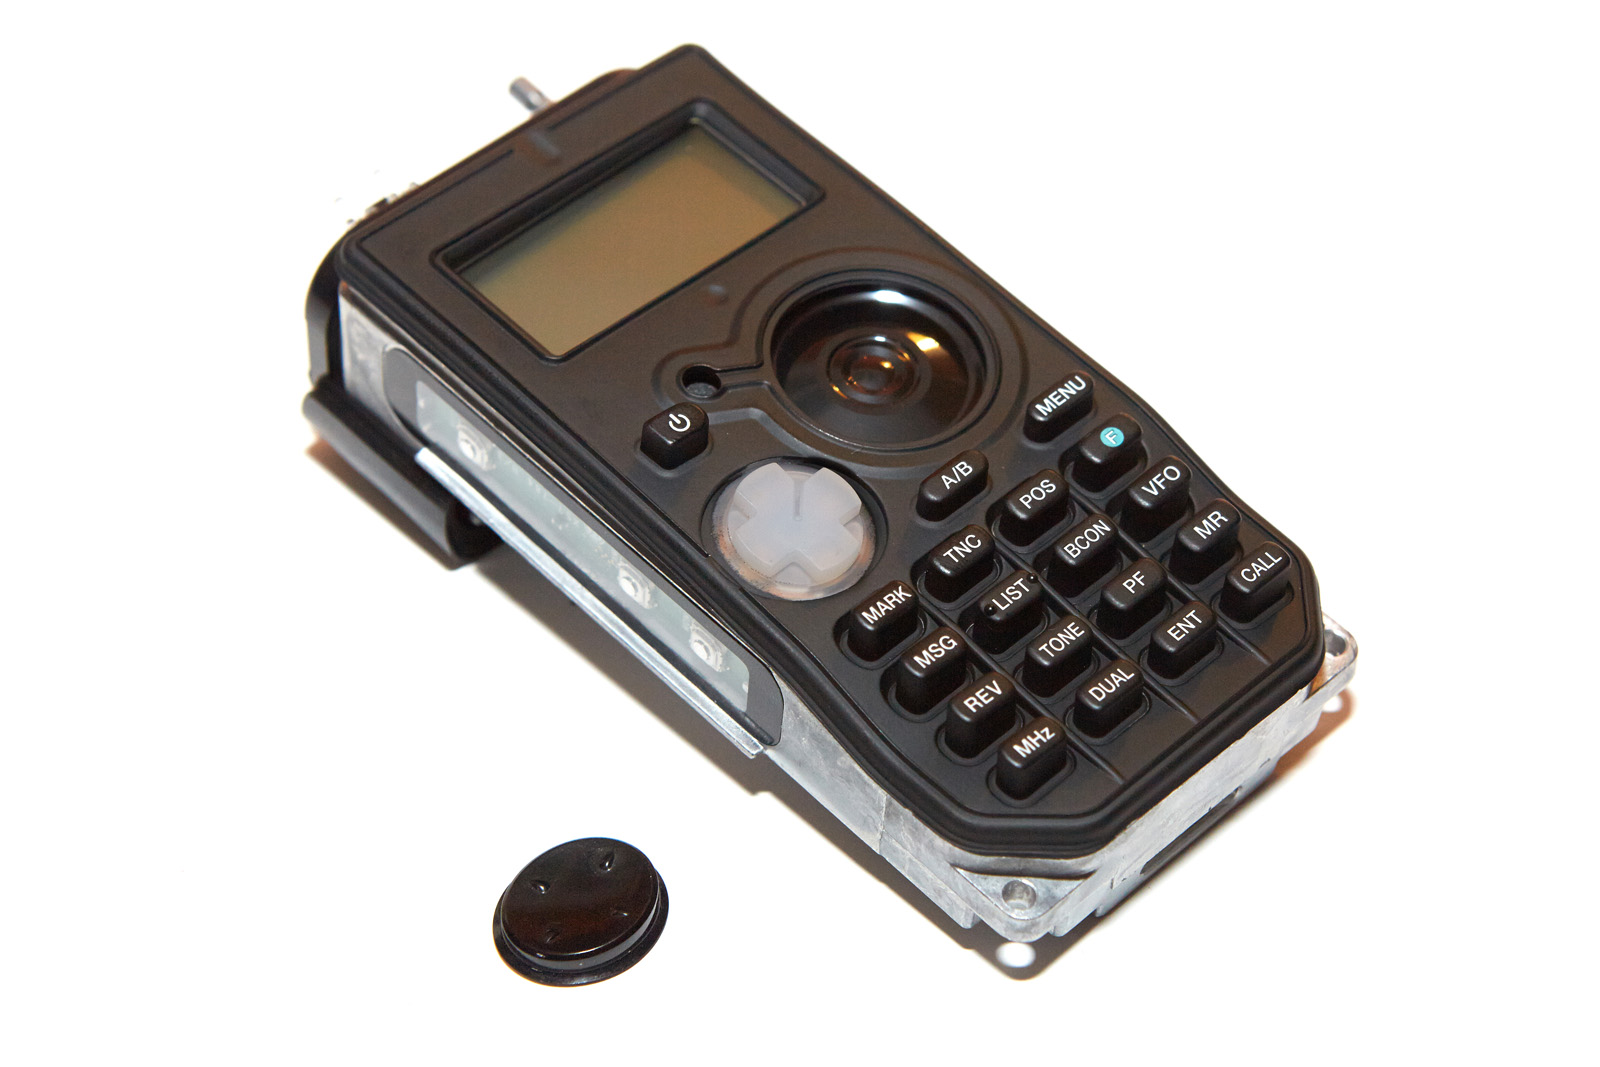
You should now see a rubber cover on the top of the radio which covers the encoder, the GPS antenna, and the SMC antenna connector. Pull that off the same way as the last piece, but note that it’s hinged on the back. Just pull it up and over the knob shaft and it should “peel” back from the radio. You don’t need to remove this part, but if you want to, gently pull the lips of the piece away from the radio as shown in the pic. There is one such lip on each side, and pulling them both out will allow you to remove this piece which you should now donate to charity.
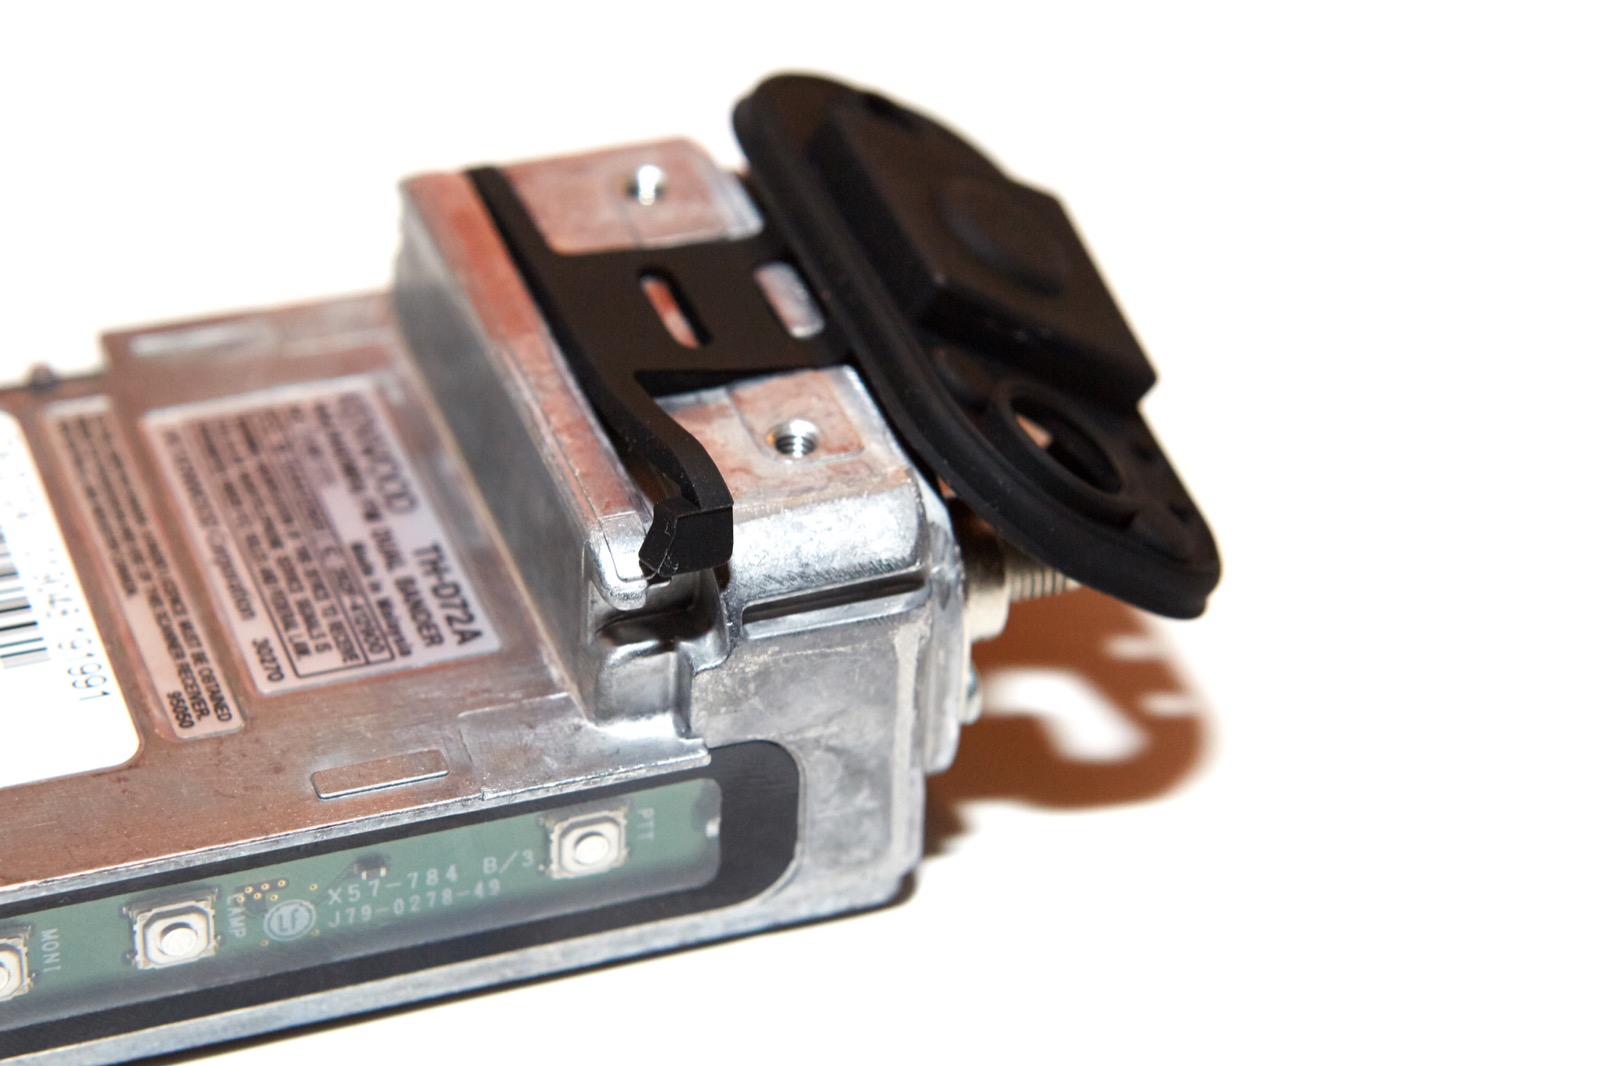
You should now have access to the encoder so you can tighten it. To tighten, look at the brass ring surrounding the encoder knob. This ring is what you’ll turn to tighten it. To do so properly requires a special tool called a spanner wrench, but if you’re someone like me who doesn’t have one of these, then you can use one or two small flat-head screwdrivers.
The brass ring is softer than your screwdrivers, so you may nick it if you’re not using a spanner wrench. Just be careful as this is a very inexact way to do this and it’s very easy to have the screwdriver(s) slip and cause damage to either the radio or your hand.
[dropshadowbox align=”center” effect=”raised” width=”90%” height=”” background_color=”#ffffff” border_width=”1″ border_color=”#dddddd” ]You have been warned![/dropshadowbox]
Everything goes back together in the reverse order. Note that the 4-way rocker is keyed and only fits on one way. Actually, that’s only partially true.
The 4-way rocker cover will fit in the cover multiple ways, but the 4-way rocker itself has a key in it (a long slot in the white “plus-sign”-looking button) which will only match with the cover in one way. The pic shows how the cover should be oriented when putting the radio back together.
Of course, being able to reassemble the radio assumes that you kept all the miscellaneous bits and didn’t spill the little black screws into your ’70s-style deep shag carpet where they’d be lost forever.
The steps required to reassemble the radio are, in order without pictures:
- Put the rubber cover back on the top of the radio. Make sure the little lips are in place
- Slide the plastic top back over the antenna and encoder knob. Note that this piece slides into slots, so make sure you line it up properly before forcing it on
- Put the rubber keypad on the radio and put the 4-way rocker switch cover in its place with the proper orientation
- Slide the assembled radio into the cover, ensuring that all the keys line up
- When you put the cover back on, some of the rubber buttons my bind under the cover. Just push on them at an angle with your finger and they’ll pop right up into the hole where they belong
- Replace the rubber port cover, making sure that it’s seated on the little nub in the case so it doesn’t fall out
- Replace the two screws you had to fish out of the carpet
- Replace the battery
- Attach an antenna
- Power it up and make some QSOs!
That’s it! You probably just saved $100 or more by doing this simple repair yourself. Or you cost yourself hundreds of dollars by ruining your radio. Either way, I’m guessing you learned something.
Congrats DE K2GAD!

Valuable instructions on how to get into this pup … as the Kenwood display screen is made of very soft material AND that Kenwood in the infinite wisdom did NOT supply a static-adhering cover sheet, mine was scratched early on. Fortunately, the screen can be purchased easily for 1/2 of the whole covers’ price.
What I’ve found is that it may well be super-glued to the case. Failing removal by force, spudgers, etc., the next test is using heat (hair dryer). I’m guessing no easy way – but I do like the fact that the replacement screen does come with a cover (protective) sheet which I will leave on, if the old one ever comes off.
Thanks for the nice write up. After I threw one of the pieces into the fireplace I realized you were being sarcastic. It taught me a few things, however: that melting burning plastic sticks to your flesh pretty quickly, and you can do more damage jumping around and screaming than from the initial burns. Joking aside, thanks for posting this as it made for an easy fix I otherwise wouldn’t have even considering doing.
Thanks for this!!
My radio’s knob had been loose for a long time, so it’s good to have it tightened up. I managed to complete the repair with no spare parts left over. Thanks for your advice.
I noticed the volume part of the encoder on my D72 slips a little as you change vol one way or the other. Is that the slipping being referred to here? The tuning part of the encoder seems okay, I can’t tell that it is slipping so I am wondering if what I am experiencing is a different issue or not.
It’s been a few years, but I recall the knob feeling sloppy. If you’re only experiencing issues with the inner part of the concentric control then that part may be worn.
I know this is more than a year since you commented, but in case you happen back I just wanted to mention that it doesn’t sound like you have the same problem. On mine, the whole double-knob could wiggle and flop around, it was pretty obvious. Good luck with your issue, tho, hopefully by now you’ve solved it!
73 de KG4WGN
Woot! No more worryingly wiggly knob on my D72; ever since it came loose I’ve been waiting for it to actually stop working, but it just wouldn’t. I had a few hearty chuckles along the way (explain to me again why my radio is on fire?) and an etymology lesson to boot – now I know what a cakewalk is.
Now you wouldn’t also happen to have a quick fix for the light and squelch buttons on a D7, perchance…? 😉
Thanks and 73 de KG4WGN.